gerry's blogs - wintertime morning and evening shots

We're right in the middle of winter where I live in Rochester NY ... where there are far too many clouds and too little sunshine thanks to Lake Ontario.  The big lake lies just a half mile from my home.  Still ...  there are gorgeous photo opportunities to be had.  When the sun is out, it is lower in the sky (compared with summer), and the golden hours of sunrise and dusk can be extra-special. So here's what I do to capture a winter image.

Before I even pick-up the camera, it begins with planning.  I consider the weather and look for a morning or evening sky that promises to be lit by partial sunshine and ideally, some puffy or wispy clouds.  Quite often, the beauty of this season is all about the sky.  I am also looking for a partner for that skyline, whether it's ice formations on the trees, or along the shoreline, or perhaps a citiscape ... some attraction of interest.  Now to know how the light is going to dance with the feature I have chosen, and the best possible time for shooting, I use an app like the Photographer's Ephemeris, which will show you the path of the sun and the moon over any location you identify. 

Critical gear for me is my tripod, a 16-35mm lens, and cable release.  Often I take advantage of neutral density filters, and/or a polarizing filter over my lens to enhance the sky and cut reflected glare; and I'll always bracket my shots, typically by two stops of light.   I try to get to a chosen location at least a half an hour ahead of when I expect the light to be at it's best as this gives me time to consider different ways to frame an image.  Time is important, because the best light doesn't last long, and when I hurry too much I am more likely to make a mistake!

Focusing the camera is super-critical, and it can be difficult in low light.  Focusing about 1/3 of the way into the frame with the camera set to aperture priority and an F-stop of 11 or more helps to keep the image sharp from front to back.  I may start with the camera's autofocus on, but I usually double check the set-up using the camera's live-view, magnifying the image and then fine tuning the focus.  Then the auto-focus is shut-off.  

I dial in the lowest native ISO possible, typically ISO 100, to minimize graininess .  These bracketed exposures will be longer ... not typically over 30 seconds ... but approaching that at dusk.   I may or may not combine the exposures in photoshop to extend the dynamic range of the view, it just depends on how I like given captures.  I love to take advantage of Nik filters in post too, but the final image while it may be slightly enhanced, needs to maintain it's realism with what I witnessed.  

gerry's blogs - Taking Images of Real Estate

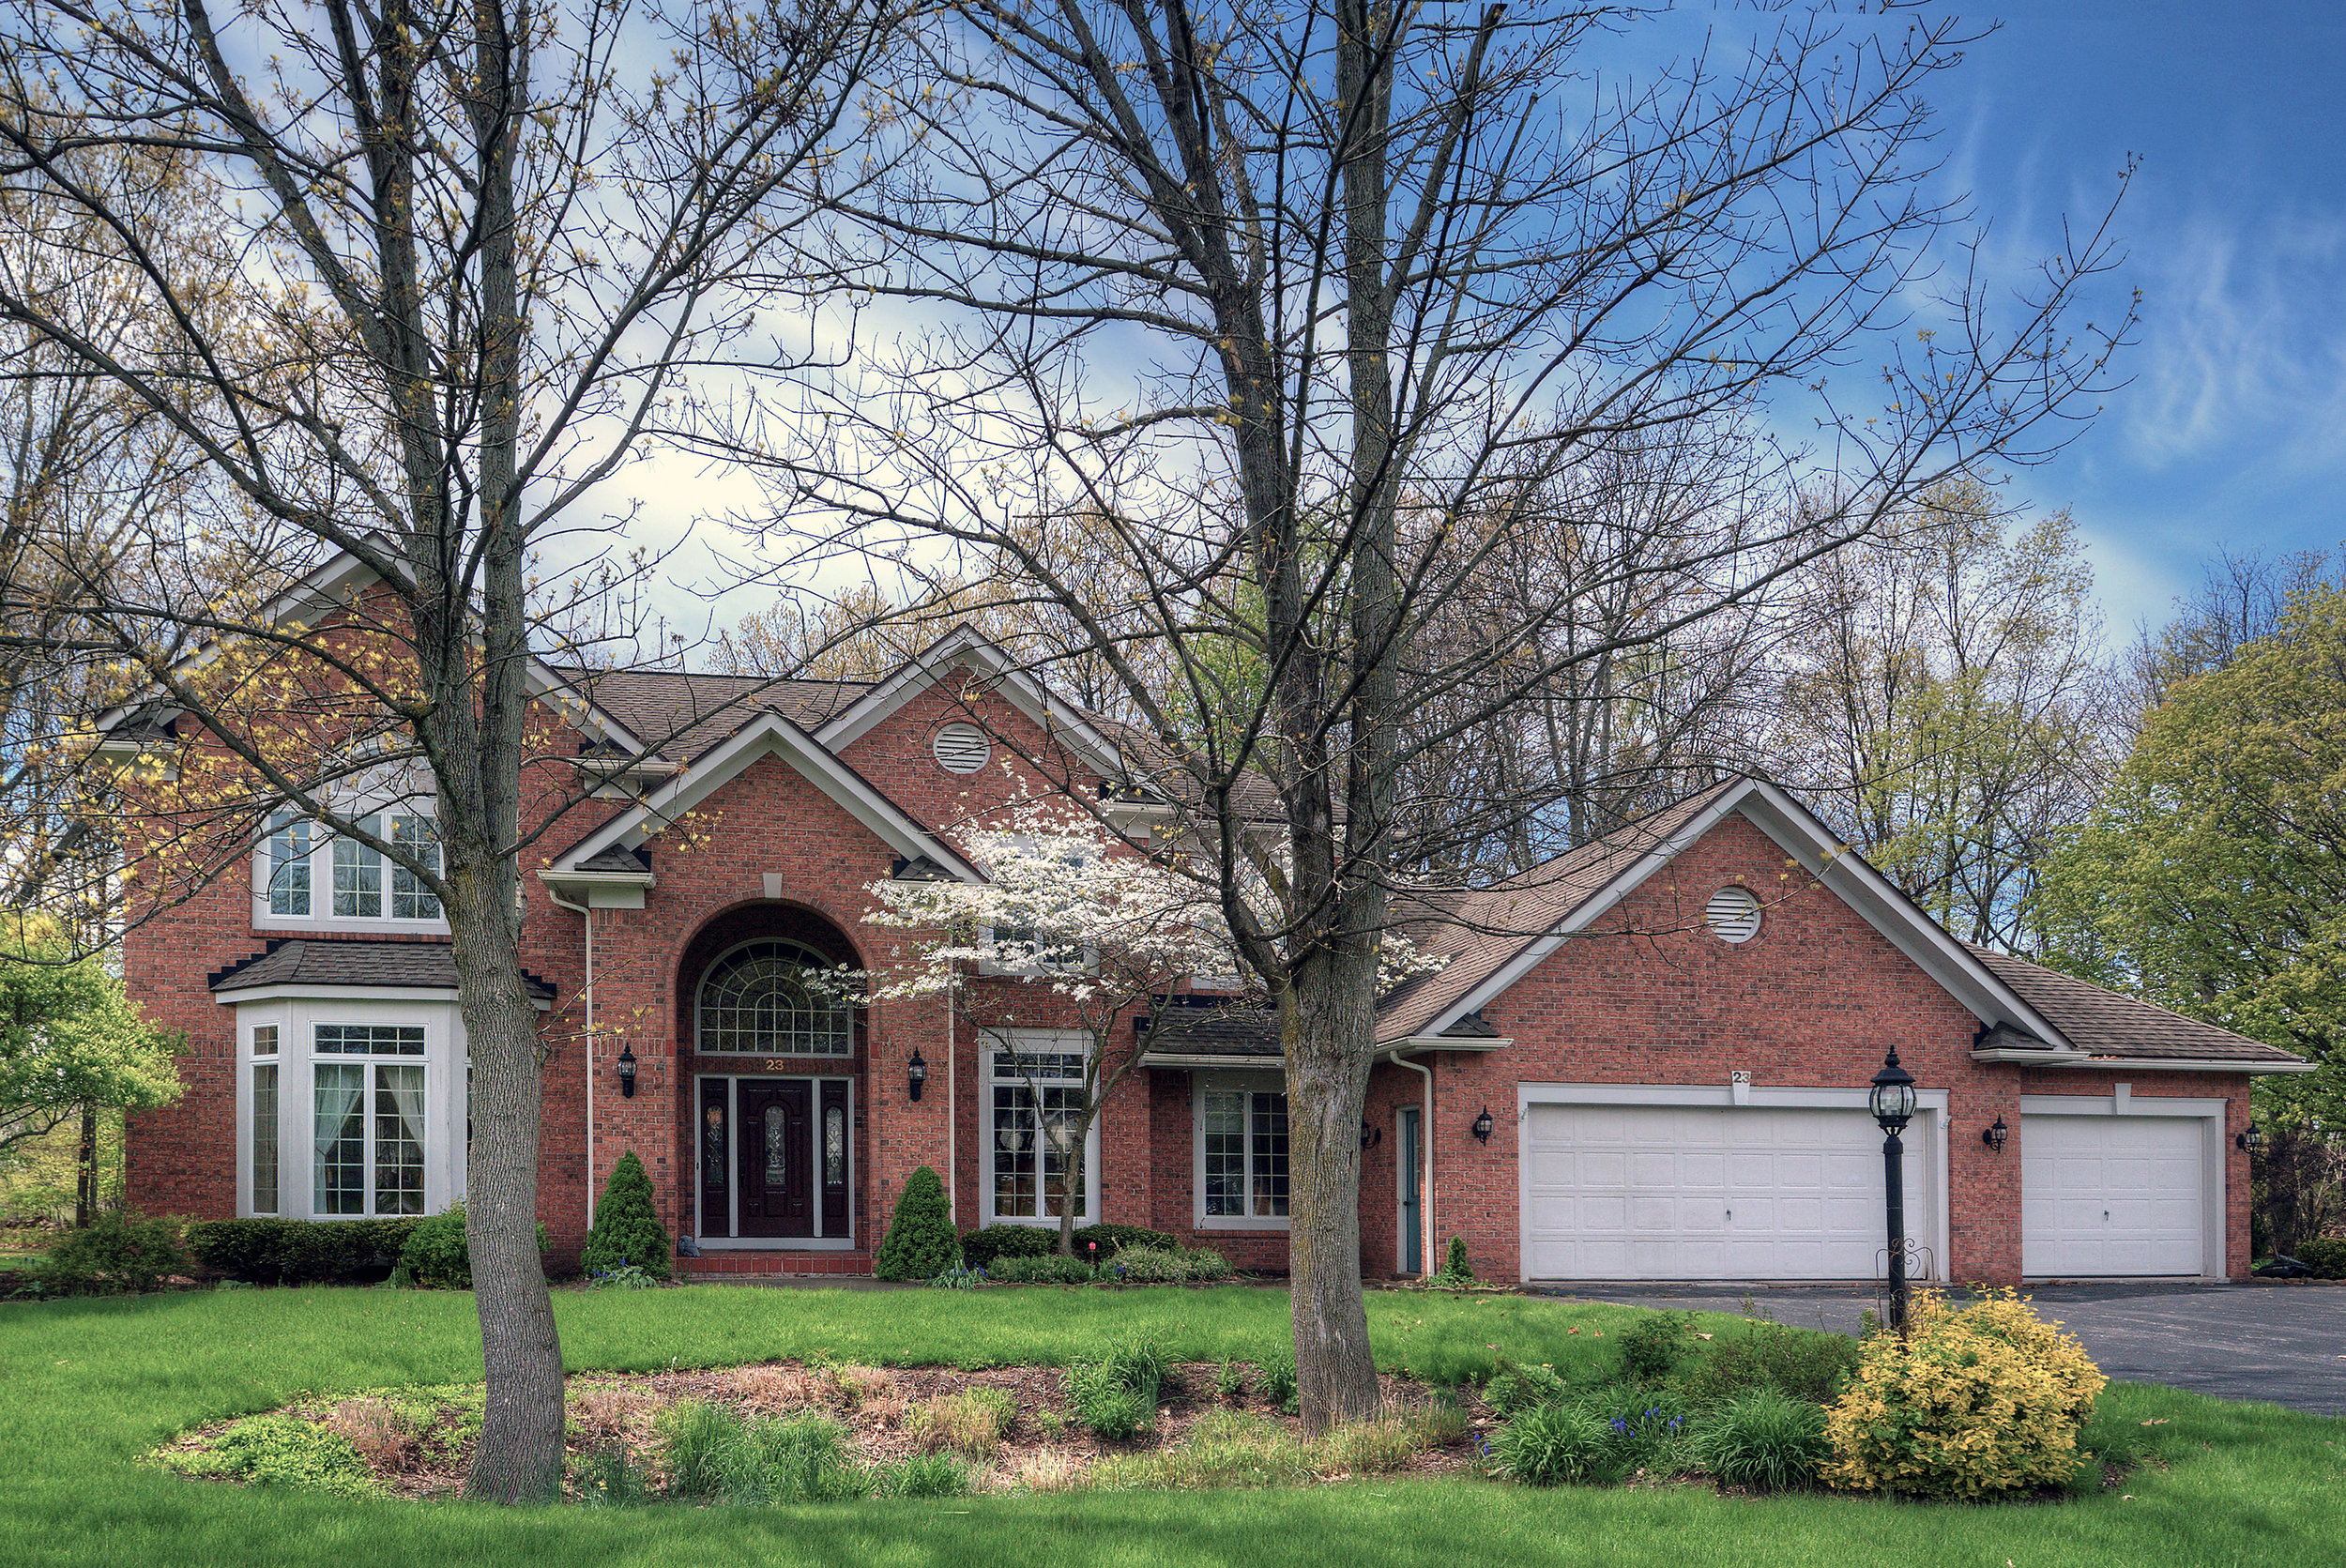
There is a definite skillset to be developed when it comes to taking pictures of architecture and real estate.   Beginning with hardware for example,  there are a unique set of tools necessary in order to produce images of the highest quality.  Cameras with full-frame sensors and lenses with wide fields of view are needed in order to provide accurate perspectives in both the interior and exterior of structures. Photographers must also often cope with poor lighting and/or a broad dynamic range of light and shadow, which always requires the use of a tripod, and bracketed exposures that are combined in post processing.  Adding light to an interior setting is an artistry in an of itself,  and can include the use of offset flash or the the application of constant lighting to add a warmth and ambiance. 

Perspective must be considered in framing shots in camera, along with editing images in post-processing where often it becomes necessary to straighten distorted vertical lines that appear to bend as a function of the camera's position in the shot or the lens utilized.

Architectural photography is an area that typically requires very accurate color reproduction as well;  the best images are properly white-balanced in camera,  and color-corrected in post processing to provide a true and accurate reflection of the setting. 

Indeed, there is a beauty and artistry to man-made structures, just as there is to natural structures, and a good photographer can help reveal that.   Both my father and grandfather were builders, and so the time I have spent learning some of the nuances of photographing buildings bring back memories of both of these men, and the experiences I had working alongside tradesmen as I worked summers while attending college. 

There is no question that creating a beautiful set of images highlighting a dwelling is a valuable asset to its sale.  Photographs that represent the real estate accurately and with artistry can be valuable partners to others in this industry. 

gerry's blog 6/1/17

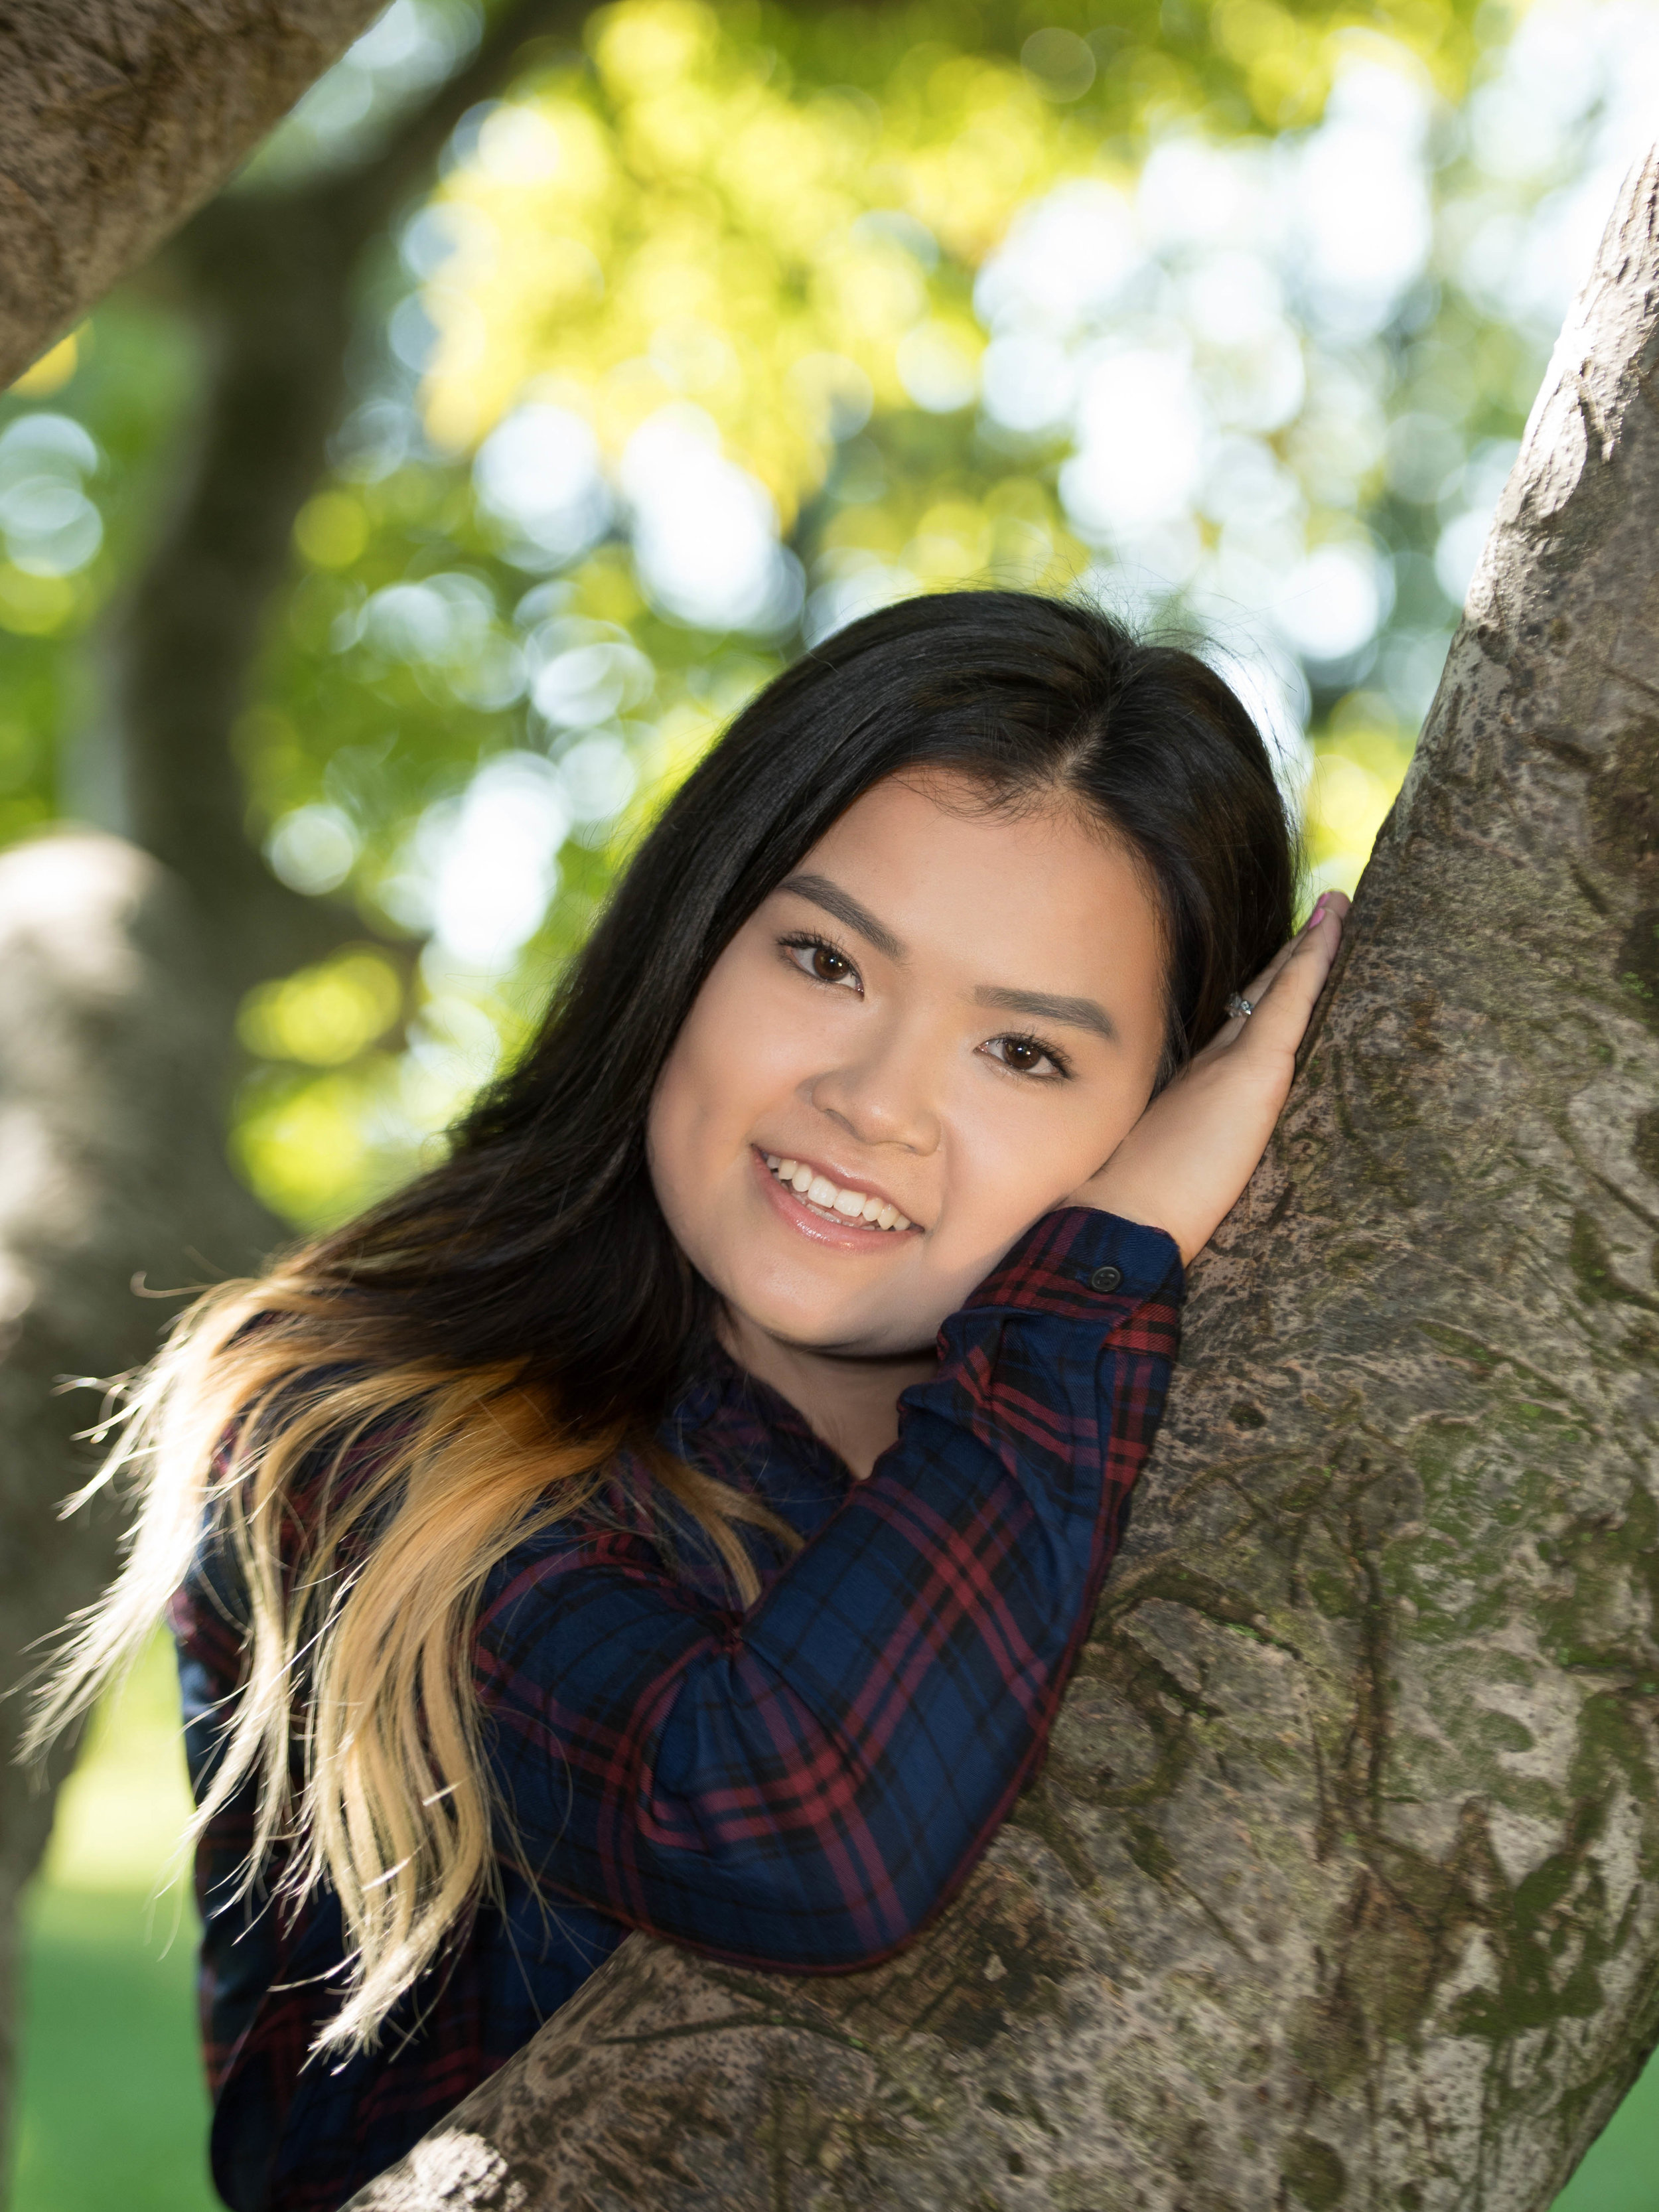
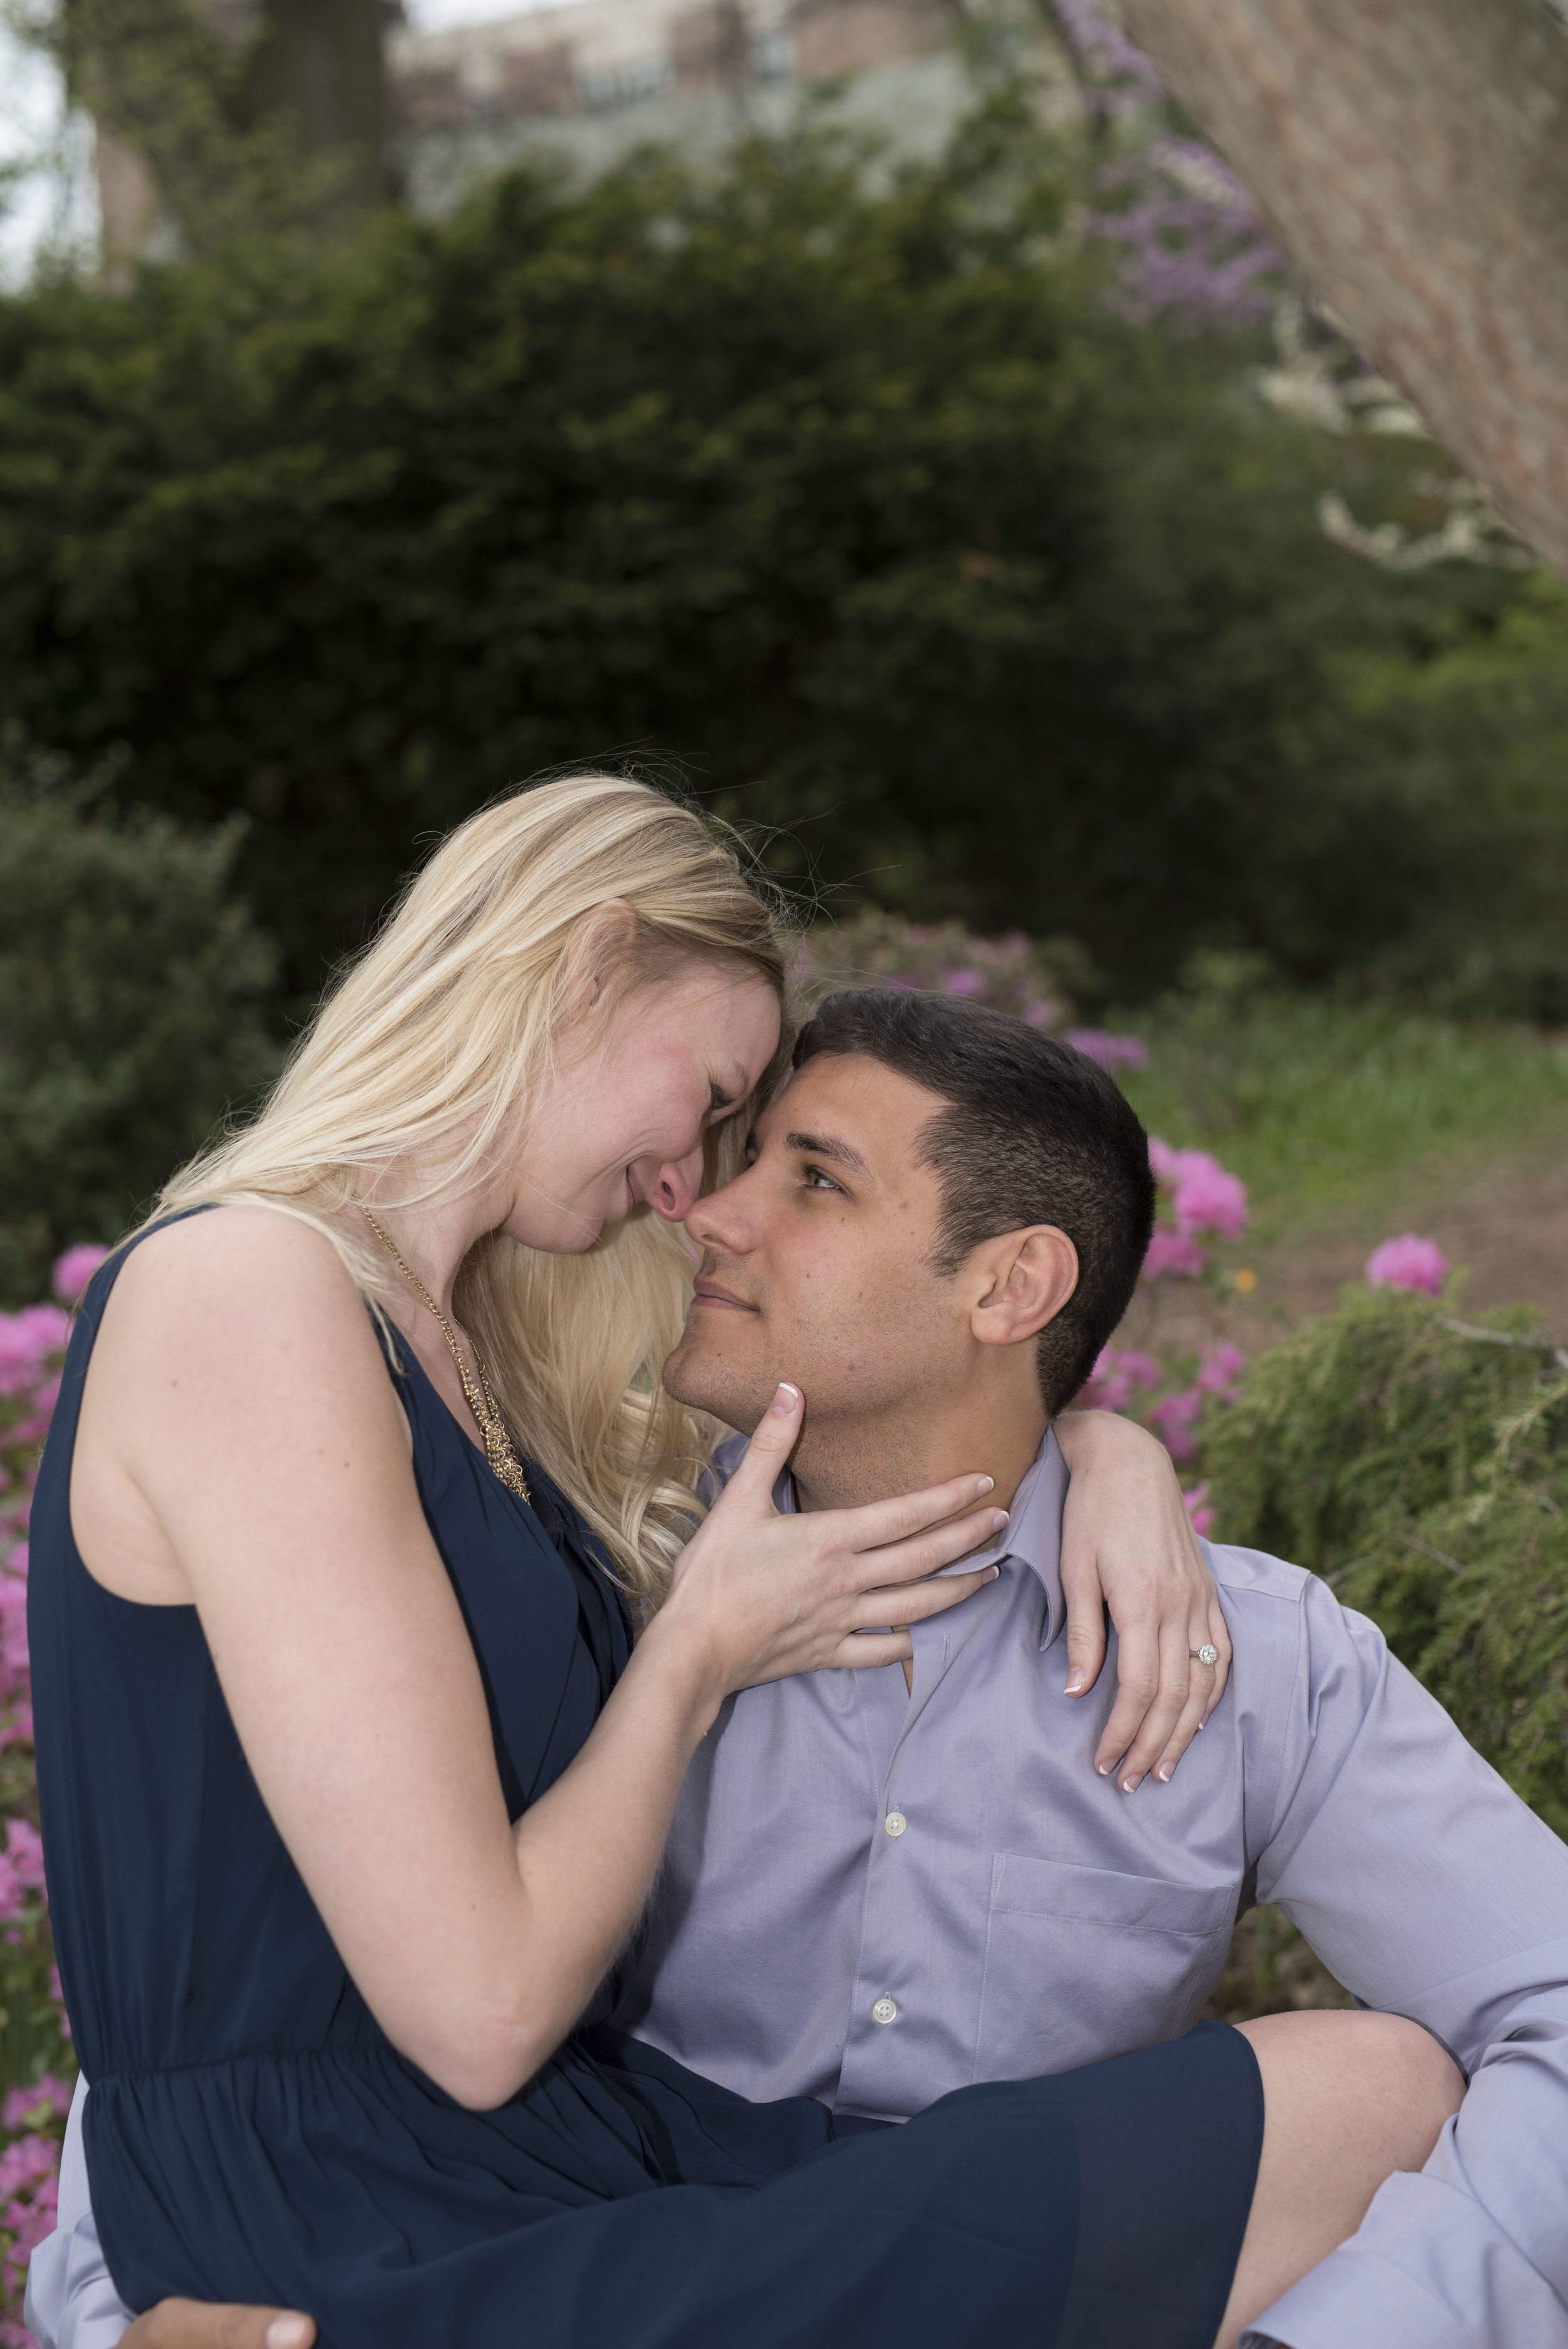
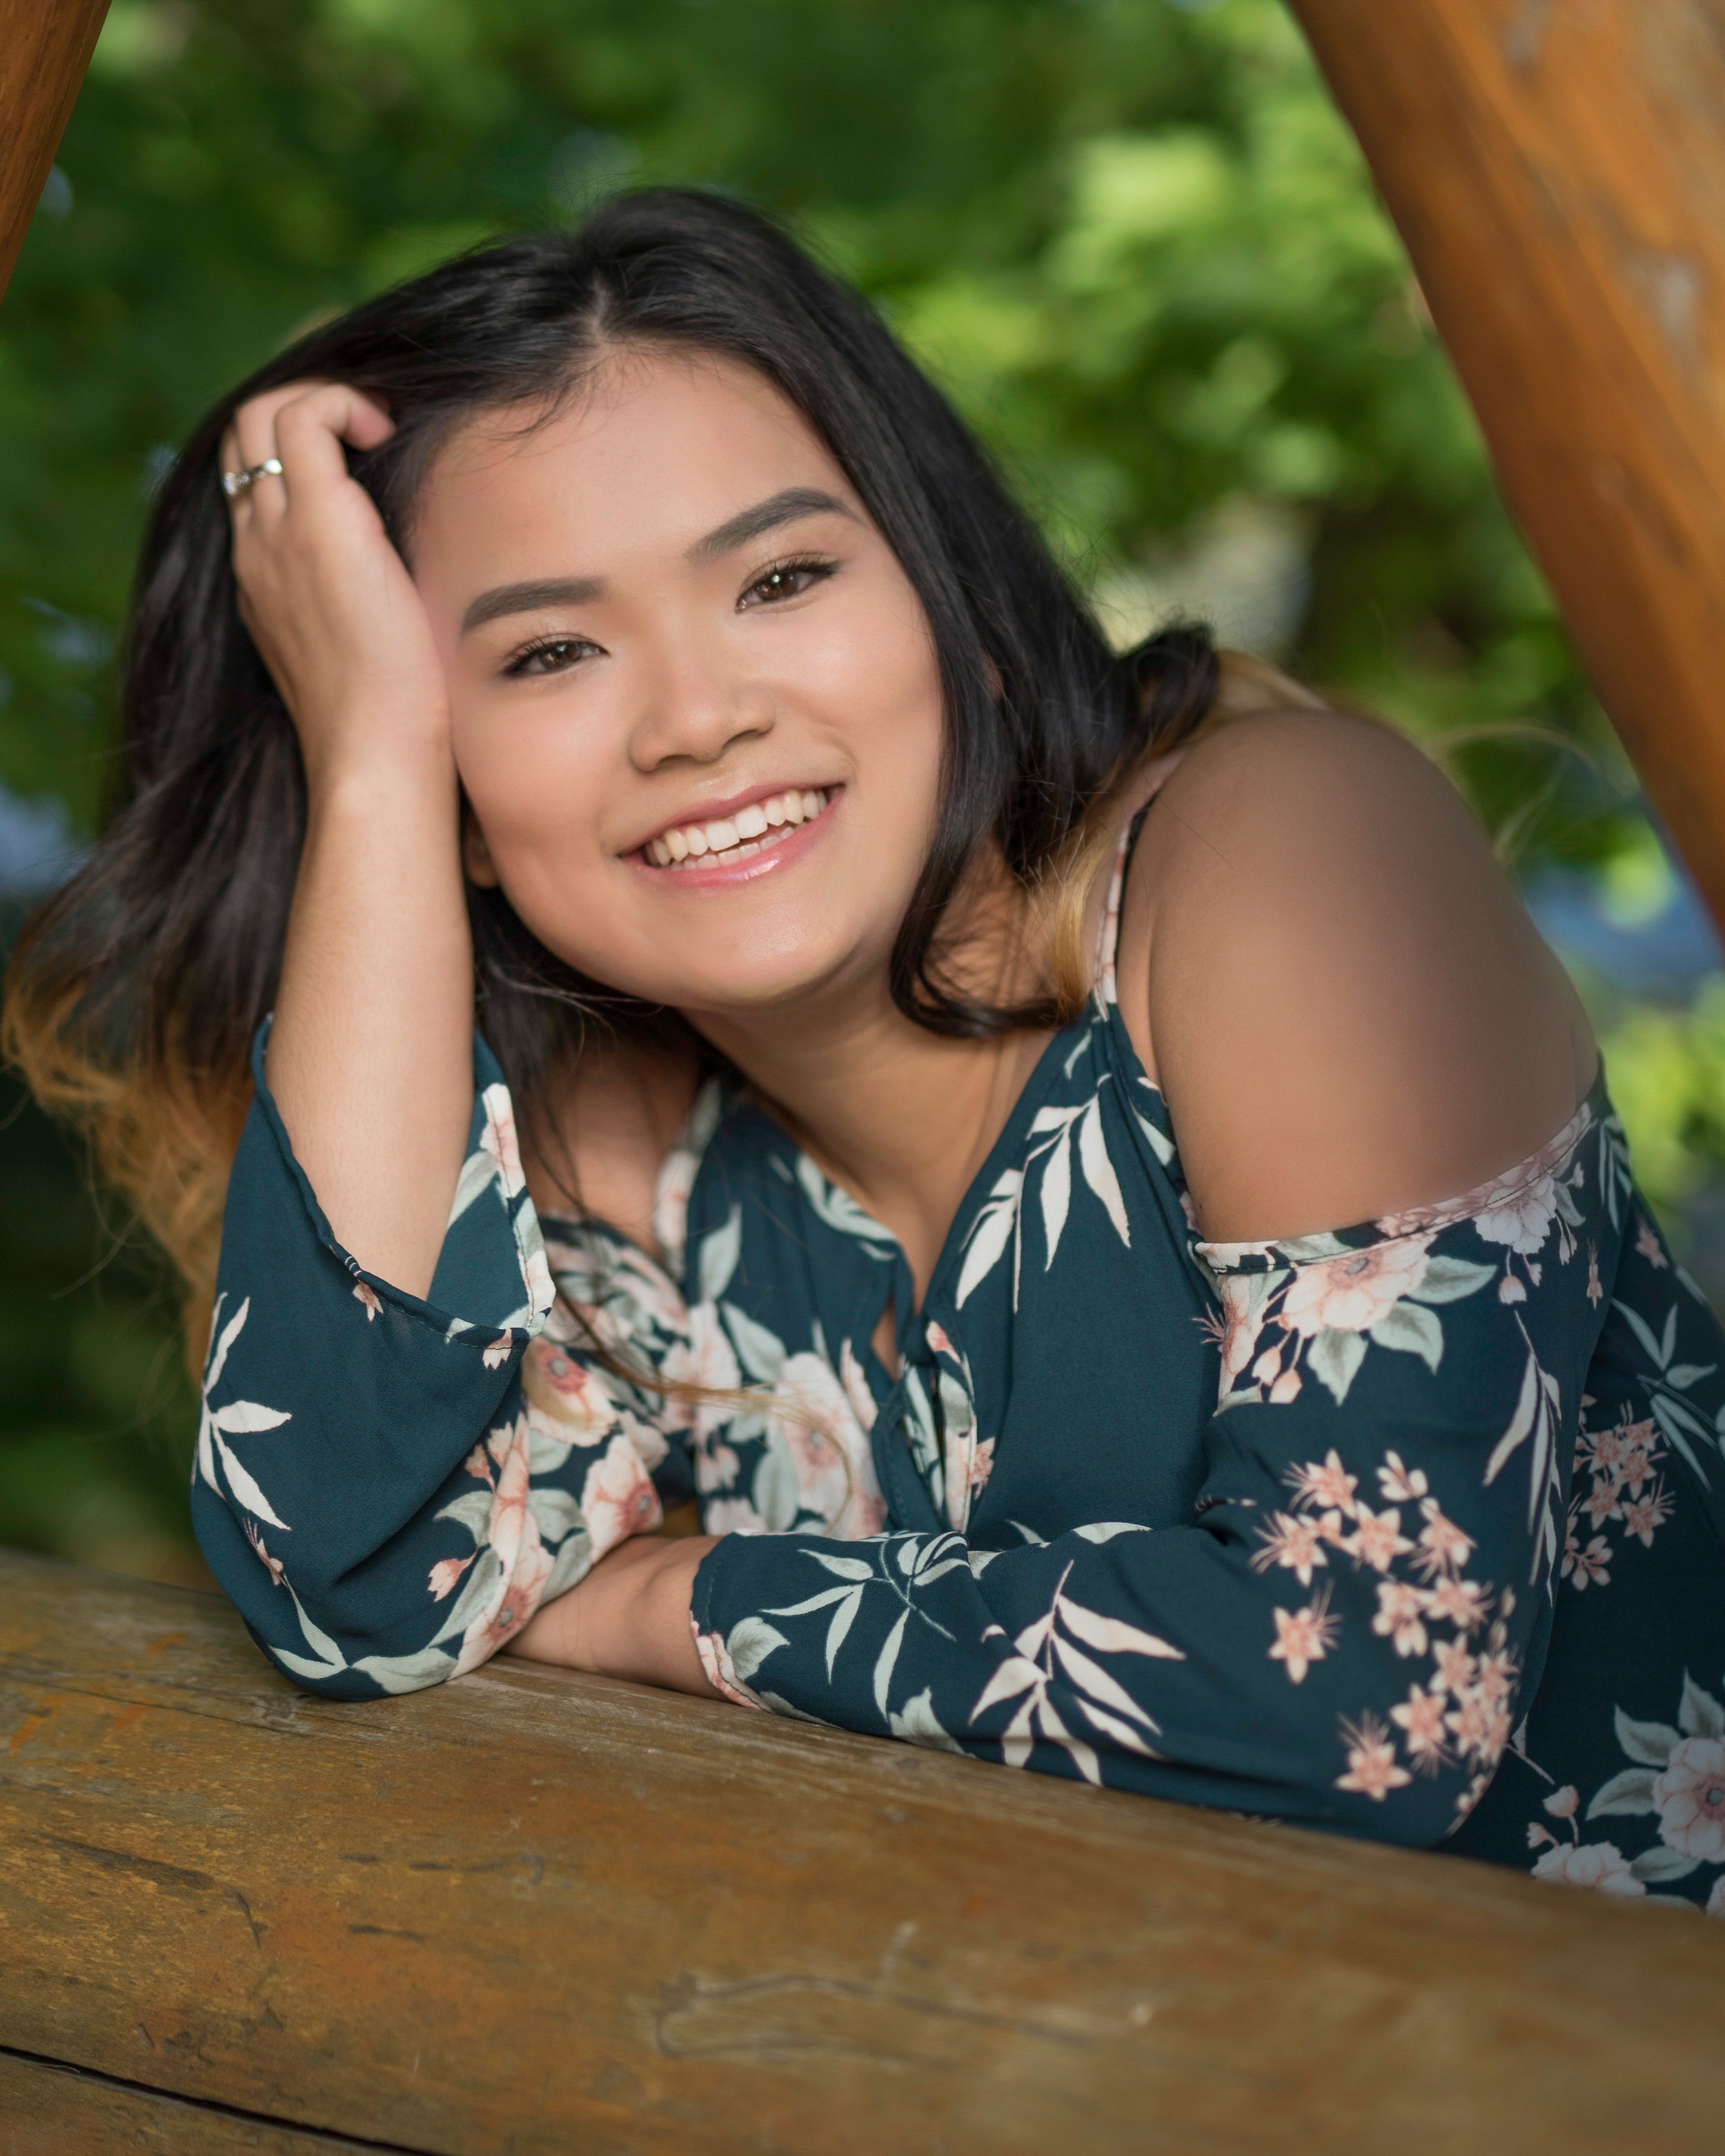
My gosh where does the time go ... I haven't shared with you for over a month ... too long!  I have been doing a number of things these last few weeks,  including capturing portraits in the emerging backdrop of spring foliage and flowers!

As you take portraits of the kids going off to their proms or perhaps the grandkids playing in the yard, here are a few tips.  First and foremost, avoid the bright light of the sun, because the harsh shadows it can make on your subject's face is very unflattering.  There is nothing worse than squinty eyes or a frowned forehead to spoil a picture too!  Actually, portraits taken outdoors are best shot on cloudy days, when the sky acts as a big softbox and provides flattering and even lighting.  

Of Course, you take pictures when the moment presents itself not based on the weather, so if the conditions are sunny, seek out a bit of shade and/or position your subjects away from the direct sun; sidelight them if possible.  And you know what ... the sun can be your friend too, but you need one piece of inexpensive equipment to take advantage of its warmth ... a reflector.  A reflector is is a disk of fabric, it may be white, or gold, or silver (or all three in one), that can be positioned to allow you to "catch" a bit of that sunlight and shine it back on the face of the individual you're photographing.  This enables you to fill in the shadows and "bathe" them in warm light!

OMG ... they're cheap and they generally do a much better job of lighting a subject outdoors compared to much more expensive lighting set-ups.  Some of my very best portraits were taken only using a reflector!  If there is a downside, it may be that you will likely need a helper to hold the reflector, and shine it's light on you subject.  You adjust its intensity depending on the angle you position it toward the sun and/or the fabric it is made from; white creating the softest effect and gold foil creating the warmest effect.   Oh, by the way, you can easily make a white reflector.  Just go to the dollar store and get a 2X4 piece of white foam core.  

So keep these tips in mind and try using a reflector yourself ... see how it will elevate portraits to the next level!

gerry's blog 4/15/17

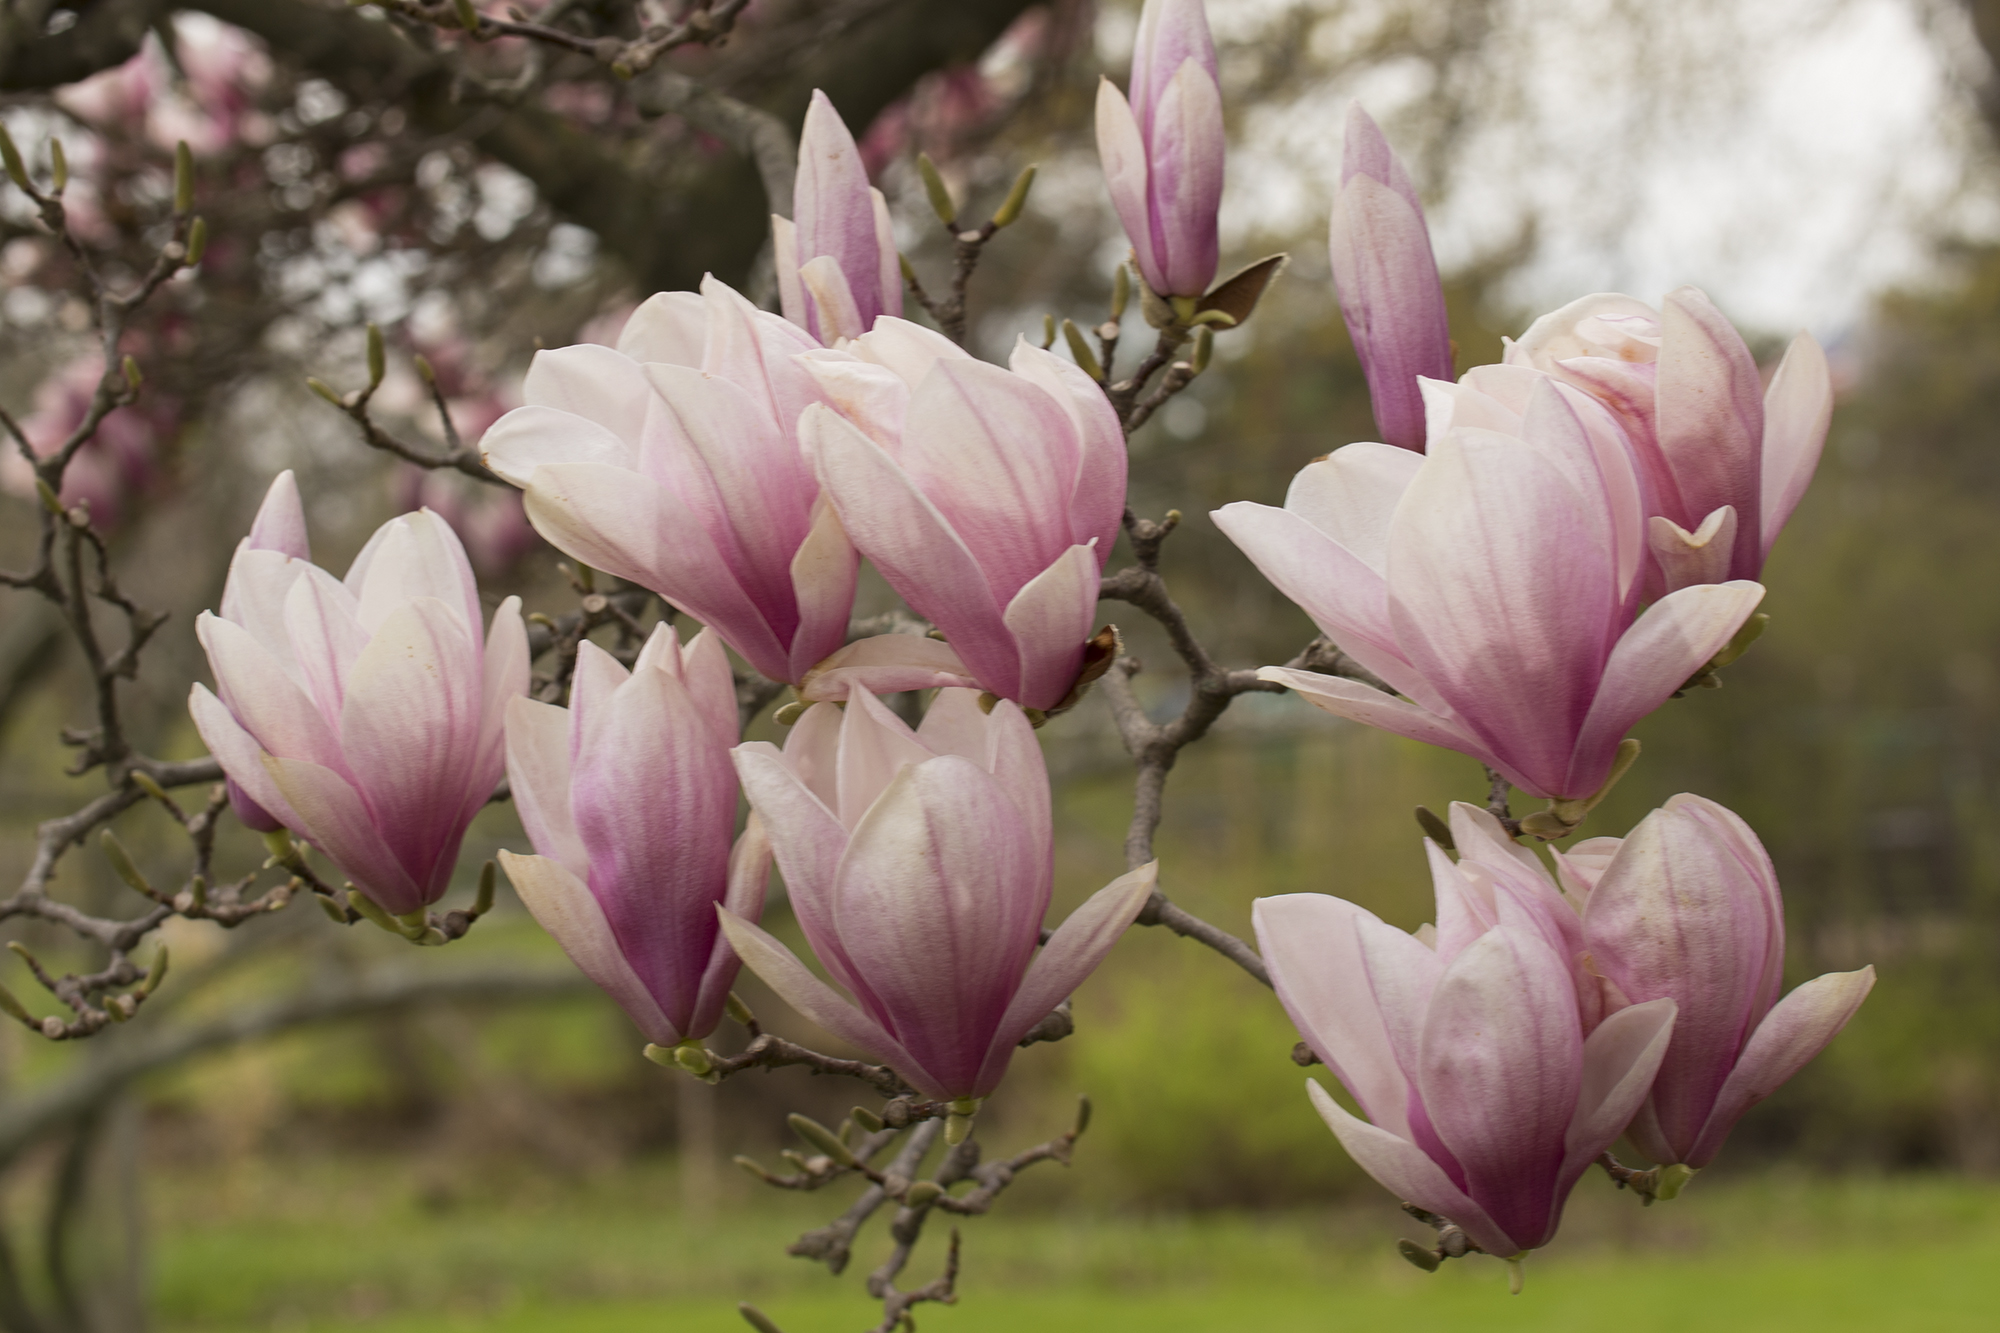
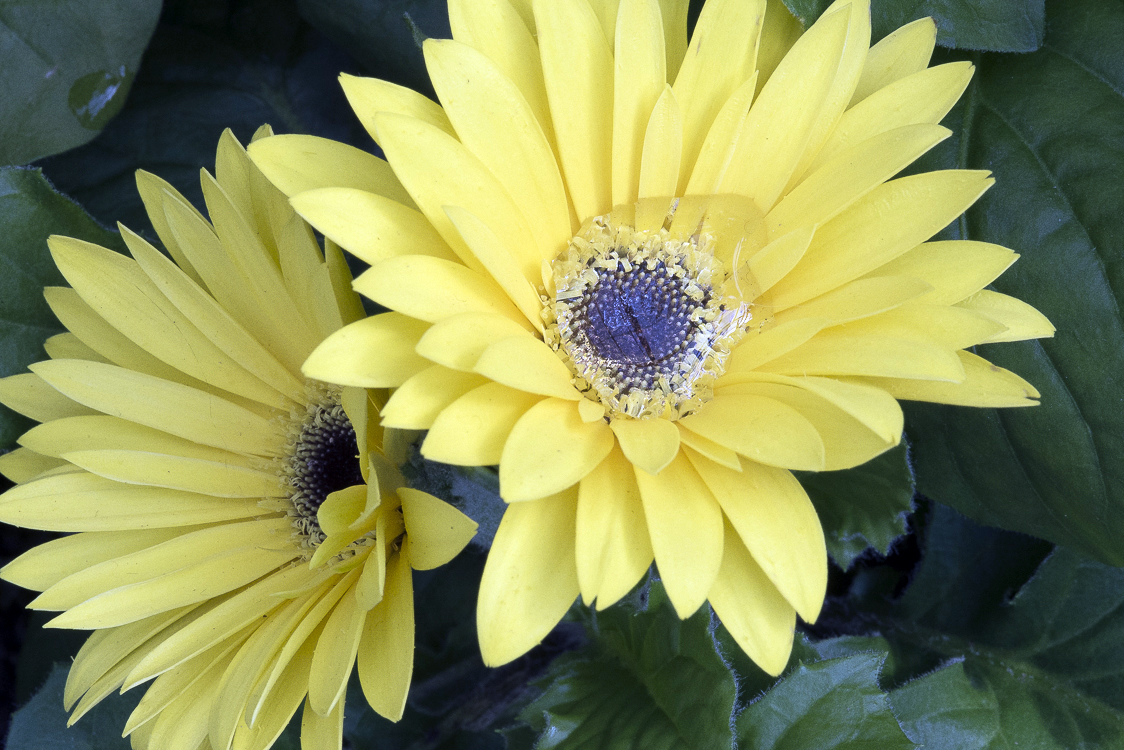
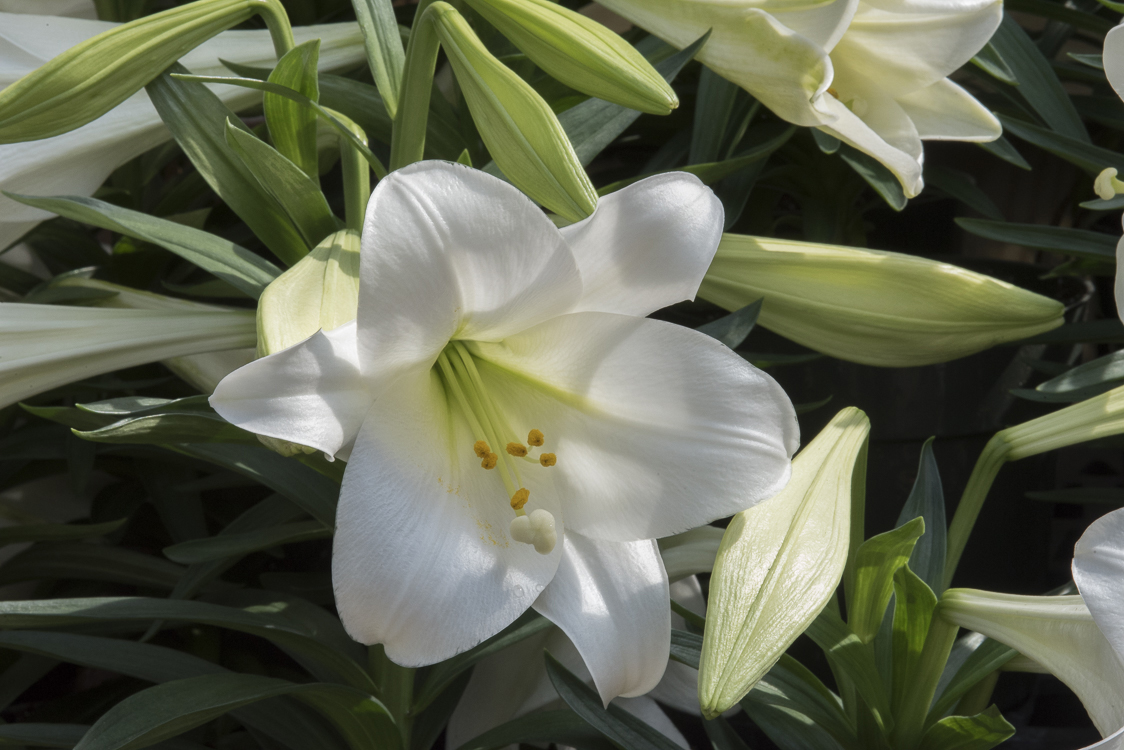
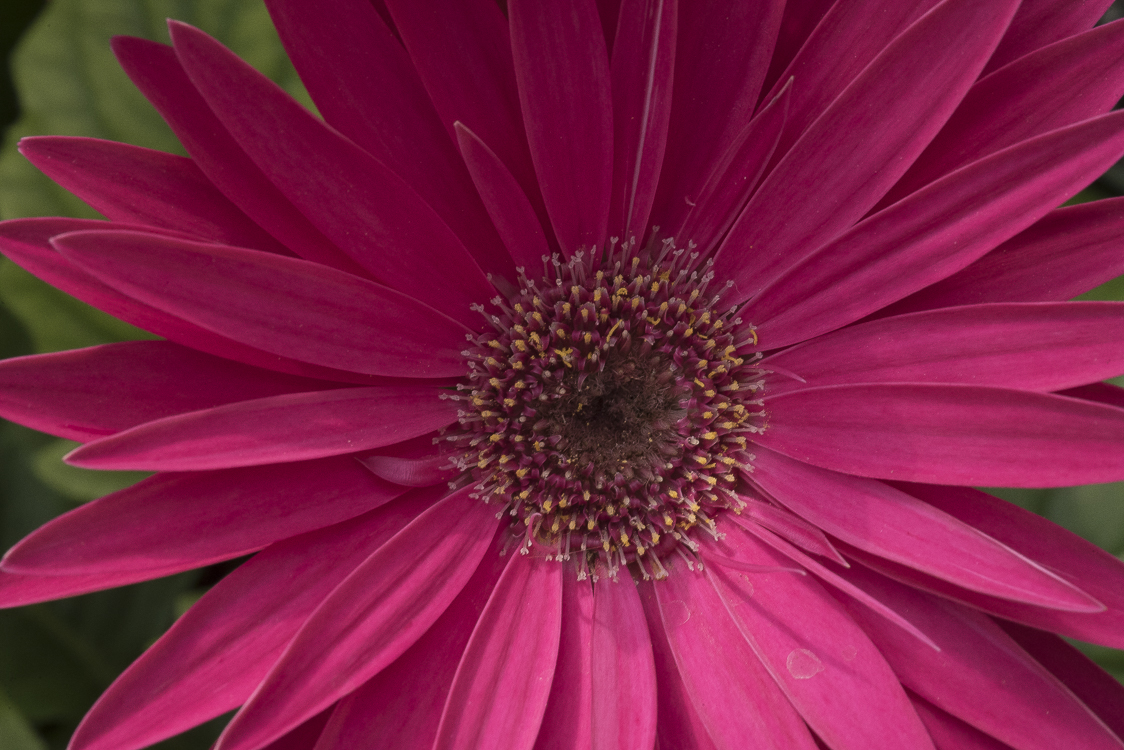
Spring is finally here ... thank goodness!  With the change in the weather comes one of my favorite times to photograph nature ... particularly the flowers and buds of springtime!

It's easy to get caught up in the beauty and color of these emerging blossoms, but a note first about composition; the most eye-catching images seek to isolate an element in the frame.  In other words, don't try to shoot the whole flowering tree or garden because it will look too cluttered ... instead  isolate a single flower or just a few blooms.  I tend to do this by filling the frame with a flower(s) and blurring the background.  For example, simply choose a bud in a tree that has several feet behind it uncluttered (without other distracting elements).  Choose a larger aperture  (2.8 to 4), and you will see that it is relatively easy to throw everything but the blossom out of focus.  And with the beautiful springtime colors, sometimes you can get a very pleasing bokeh. 

Shooting flowers is fairly easy, but you can improve your odds of getting an eye-catching shot by picking a day with little or no wind, which makes it easier to compose the image and is likely to improve sharpness.  And yes ... I do prefer to use a tripod when I do this.  If you go through the trouble to set your camera on a tripod and trip the shutter with your timer, you can enhance things even more by using a small handheld reflector to control how natural light illuminates the flower for some wonderful effects. 

gerry's blog 3/15/17

I am getting ready to teach a photography class later in the spring to folks who are new to the use of a DSLR camera.  At first, it can be kind of intimidating, with so many dials and menus and things to fuss with that many just set their camera to fully automatic and let it do all the thinking.  After all, it was an expensive camera, it should be able to take great pictures on its own ... right?

But not so fast!  All this picture-taking stuff doesn't have to be super complicated!  Nope ... not if we begin with a grasp of something called the "exposure triangle" as a foundation for all photography.  You see there are only three things that you have to think about to have a properly exposed image; they are the size of the lens opening (aperture), the length of time light is allowed into the camera (shutter speed), and finally the sensitivity of the electrical sensor (ISO). Each of these variables has to be in balance with the other two ... but here is the neat part ... your expensive camera is going to help you do the balancing act, no matter what way (mode) you chose to take a picture.   And here's best part ... as you progress in your photography skills, you will learn that the artistic qualities of your images have everything to do with how you combine the shutter, aperture and ISO.

So let's take  two examples,  a perfect exposure will need just the right amount of light. If I want to take a picture of the kids playing soccer, I might choose a fast shutter speed like 1/1000 of a second to "freeze" the action.  My decision to allow light into the camera for such a short interval will now require me to choose a larger lens opening so that my light grab in that instant is just the right amount.  Or maybe I want to photograph a pier, and I want as much of it in focus as possible.  In fact, choosing a small lens opening has the effect of helping us to do that, but our choice again requires us to compensate by lengthening how long the shutter stays open so that again, the correct quantity of light comes in. We may need a 10 second (slow) shutter to get the job done.  Makes perfect sense right!

In real life as you begin to use your camera, you will usually set two of the three variables of the exposure triangle and then your camera will figure out what the remaining one needs to be (thank goodness you're thinking).  Typically you will set the camera's internal sensitivity (ISO) to 200 if things are brightly lit or perhaps as high as 1600 if the lighting is poor.  I suggest you also turn your camera to "aperture priority" and predetermine the size of the lens opening you want to use.  Begin with a value like 5.6 which is a medium opening for general picture taking.  Your camera will lock in that value and automatically determine how fast the shutter needs to fire for a proper exposure. 

Now that you have been introduced to the workings of the exposure triangle, Google it and add to your knowledge, especially as it pertains to how these three variables can be combined to accomplish some interesting visual effects.  As you take more and more pictures, the values for shutter speed, aperture, and ISO will have greater relative meaning to you but today is starting point to learn and grow from.


gerry's blog 3/11/17

I can't believe the extremes of weather we're having this winter, from uncharacteristic warmth and sunshine to extremes of snow, wind and unusually cold temperatures.  In the last few days, we had one of the most severe windstorms in our community's history, with gusts reaching 80 miles an hour.  Driving winds and freezing temperatures might not make for a situation where you would decide to go and grab a camera to take some pictures, but things were so out of the ordinary, that's exactly what I did.

The picture I'll share with you is special because it was taken at a pier that was being whipped by wind and pelted by freezing lake water which created some interesting ice formations on the hand rails leading out to a navigation beacon.  

I made the image with a 70 - 200 telephoto lens which I set to 70mm to provide the widest field of view ... I wanted both to compress the distance perceived to the light beacon and to take in  the ice covered  railings and the rough seas.   The wind was so intense,  that my tripod wasn't fully extended to help prevent it from getting caught in a gust.  The pier itself, and my position closer to left side helps to draw the viewer into the image, which was shot about an hour prior to sunset. 

I used a neutral density to add to the texture seen in the clouds and set my color temperature to cloudy to warm the image up slightly.  The camera was shot at an ISO of 100 and stopped down to an aperture of F20 to extend the depth of field.  That also required a long exposure of 18 seconds which tended to intensify the look of the spray shooting over the breakwall.  The camera is focused to a point about 1/3 of the way down the pier to help maximize what's clearly in focus.

I am pleased with the image, it's unique, and the weather that created it is not likely to be experienced again for a long time to come.  Bad weather ... grab your camera!

gerry's blog 2/24/17

In its barest essence, photography is all about understanding and using light.   An outstanding photograph, whether it be of a scene, or an event, or a portrait, is very much defined by the quality of light present, and how it's utilized.  Certainly the opposite is true also; images that are too bright or dark, or marred by reflection, graininess, or lack of detail, are the result of the photographer not managing the light in the scene very well.  So if photography is your passion, the more you learn about light and become attuned to its characteristics, the better your images will become. 

For the beginning photographer, perhaps the easiest thing to learn first is when there is adequate light to take well-exposed picture.  Shooting out-of-doors for example is much easier than shooting inside a home or building, and therefore it's a better place to start learning how to use a camera simply because of the increased likelihood of a well-exposed image.  In fact, there are times of day and types of days that are better suited for picture-taking.  Softer light, characteristic of the morning or late afternoon, lends itself to better photographs than those shot a midday when light is harsh and shadows most defined.  It may surprise you also to learn that cloudy days can be terrific days to take great photographs simply because shadows tend to be much more diffuse. 

While camera technology is terrific these days, even the best and most expensive camera's can't see into the light or darkness the way your eye can. Maybe that's why folks make the mistake of thinking they can hand-hold a camera in low light conditions and get a well-exposed shot ... since it looked OK to their eye.  But beware, when your shutter speed falls below 1/30 of a second, chances are you won't be able to hold the camera steadily enough to get a sharp image that you will be pleased with.  

As you progress outdoors,  come inside and take advantage of indirect window light to give you the brightness you need for an adequate exposure.  I have taken some of my most beautiful images simply with existing light coming through a window.

OK, remember ... you need adequate light for a good exposure;  therefore start your learning curve where it is sure to be present.  Diffuse light outdoors, or through a window can create beautiful photographs with relative ease when compared with the tools needed to add, shape or modify light when you can't get it naturally.  We'll talk about all those things in future blogs. 

untitled-4.jpg

gerry's blog 2/6/17

We're all photographers ... wouldn't you say?  All one has to do is to consider the enormous number of images that are published every day on social media. And of course,  then there is the Iphone, which is perhaps the single greatest tool that most folks use to take, store, and share their images these days.   

I think the value of owning a camera, especially one that is relatively simple to use, is the ease we're afforded to capture a moment, an expression, or an event.  I am often impressed with the native "eye" that many folks have doing just that.  Among other things though, when I compare someone who has some training in photography with another who has not, one of principal things that distinguishes them is the knowledge they possess about how to use and "take advantage" of the capabilities of their camera (or phone), rather than just pointing and shooting. 

I guess it's easy for us to be overwhelmed with many features and capabilities found on today's camera's.  In fact, The first thing that many of my recreational photography students are looking for is just for me to explain what the buttons, dials and menus do on their cameras. To be sure, I myself have stayed with a particular manufacturer of camera in part because I learned on their elementary models, and the placement of controls even in their more "expert" cameras was quite similar.   That helped to reduce my learning curve as I adopted a new tool. 

So here's the deal ... if you want to advance your photography skills, the first thing you have to work on is understanding how every feature on your camera works.  Duh ... right?  But many of us don't take the time to learn how to use the tool, or do so incompletely.  These days it is as easy as going on Youtube and taking advantage of the on-line resources posted there.  When the baby smiles, or the couple kiss, or the owl is perched above you, adjusting the controls of your camera as quickly and automatically as possible to get a truly great image is what it's all about.  So take the time to learn your camera and practice; it's bells and whistles won't get you the picture of a lifetime until you learn how to use them seamlessly.  Good shooting!


gerry's blog 1-30-17

I was so thrilled to get my first telephoto lens; it was a Nikon 70-300mm, and I was poised to take all of these beautiful, up-close images!  Well unfortunately, things didn't work out as planned; instead of being sharp, most of my images were blurry, and instead of being bright, many of my images were underexposed.  So here are a couple of thoughts as you take that new lens you just got outdoors to photograph animals or scenery at the park.  The most common mistake we make with these long lenses is that we don't use a fast enough shutter speed which is critical no matter if your subject is moving or stationary.  You see, with a long lens, the photographer is much more likely to introduce "motion blur" by moving the camera, when hand-holding it and snapping the shot.   The rule of thumb to lesson this problem is to take your focal distance (say 200 mm) and then dial in a shutter speed that's the reciprocal of that measurement, (i.e., 1/200th of a second) and don't let the camera fall below that speed. Of course, shooting on a secured tripod removes this obstacle, but I often like to run and gun, taking a brisk walk in the park, while also stopping to photograph waterfowl, squirrels and the occasional white-tailed deer.  My compromise is a monopod, which allows me a much better brace when snapping the shutter. I can even improve upon its use,  by securing the monopod to a branch or post with a wire tie and using my self-timer to trip the shutter.   

Dialing in that fast shutter forces us to compensate by increasing ISO and/or selecting a larger lens aperture for a well exposed image.  More often than not, if shots are presenting themselves quickly and unpredictably in the woods, I am going to choose to increase my ISO rather than selecting an overly large lens opening.  The reason is simple, my priority in this situation is an in-focus shot, and a smaller lens opening gives me greater depth of field and therefore a greater margin for error if I misfocus slightly. 

gerry's blog

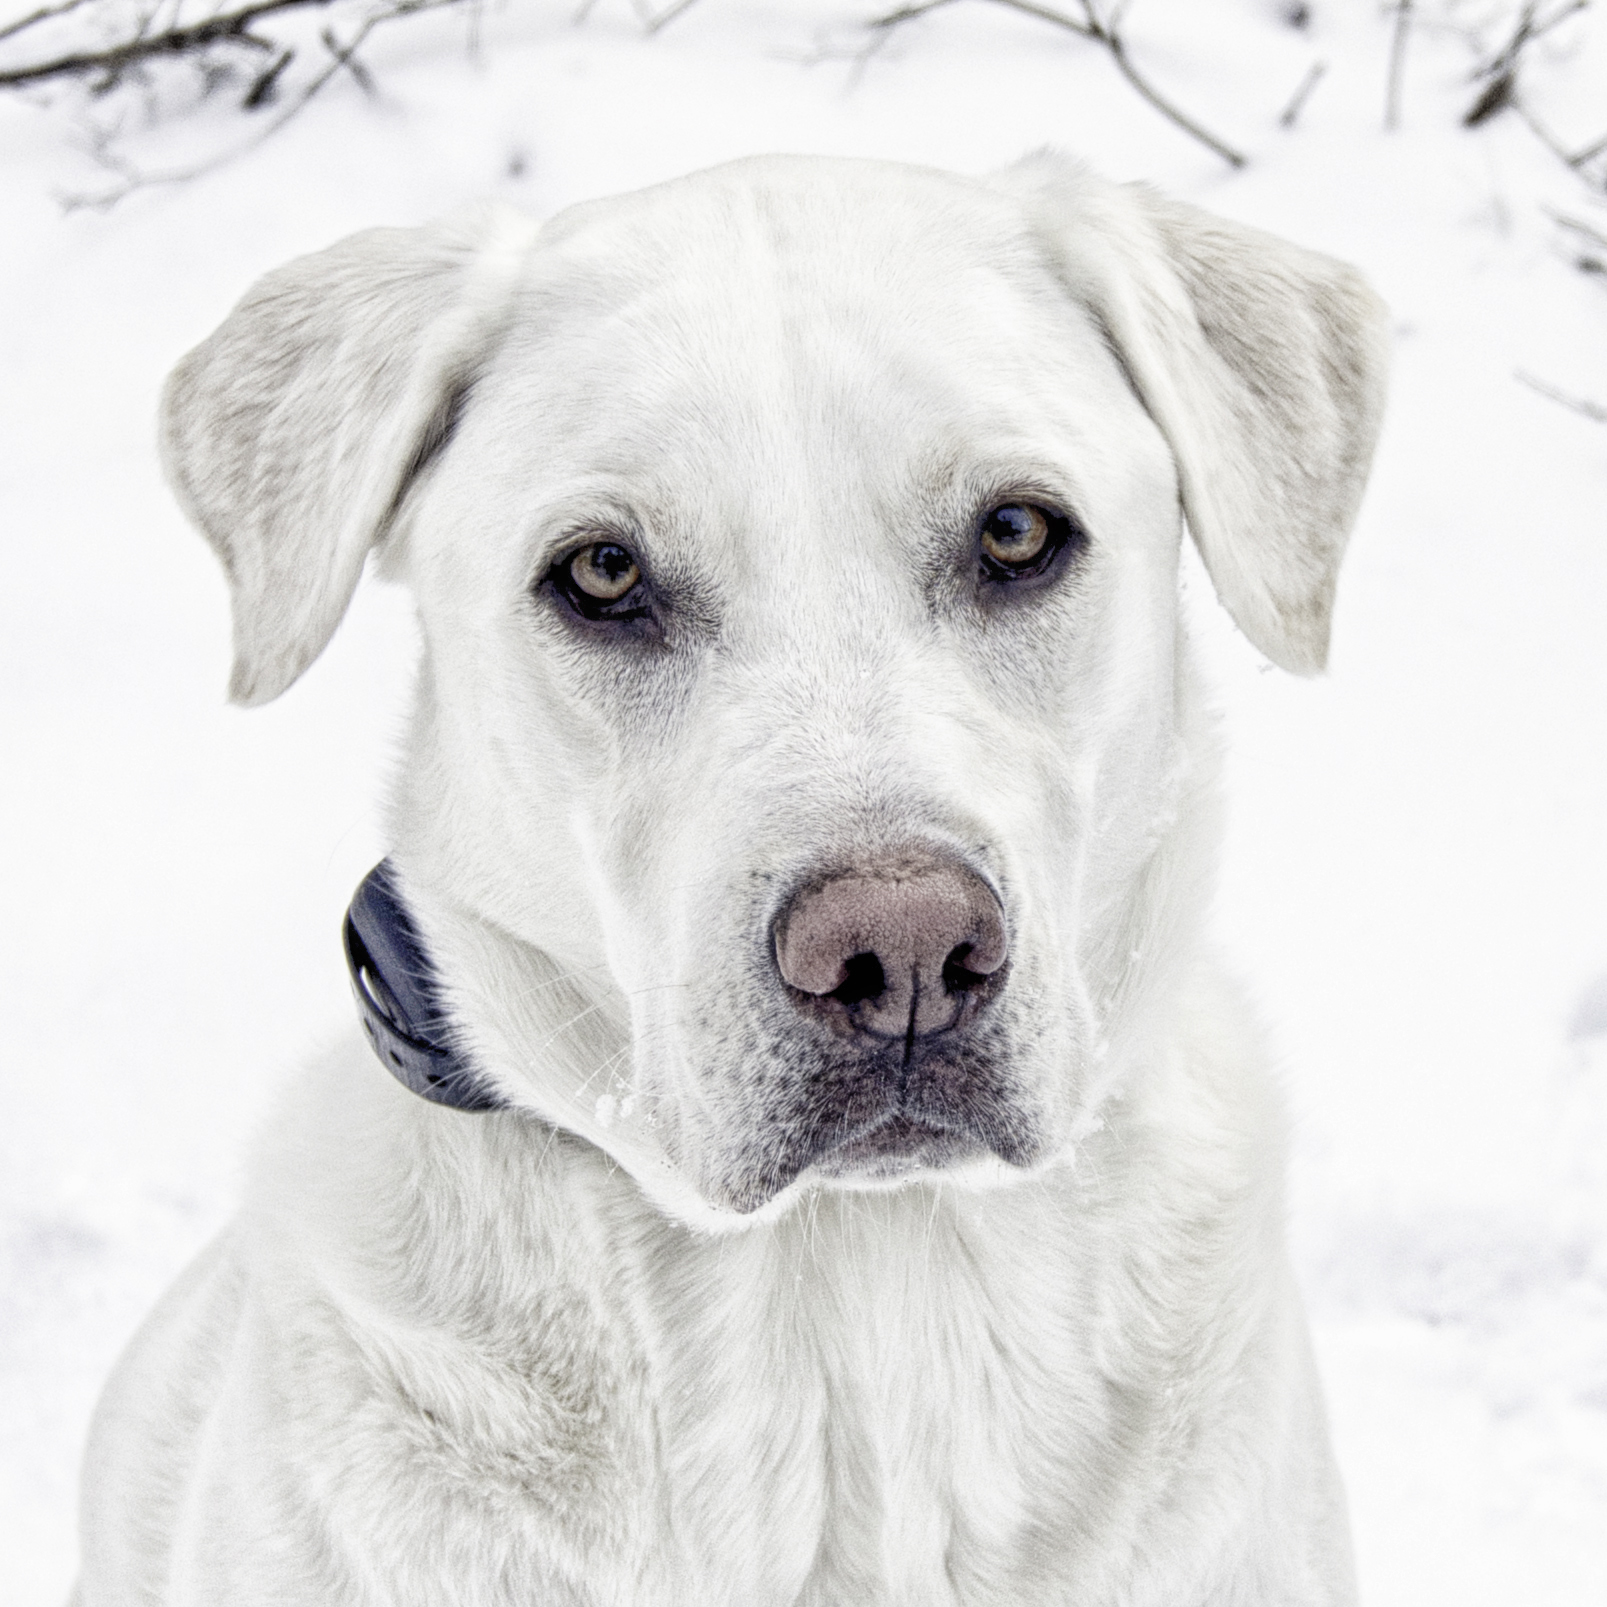
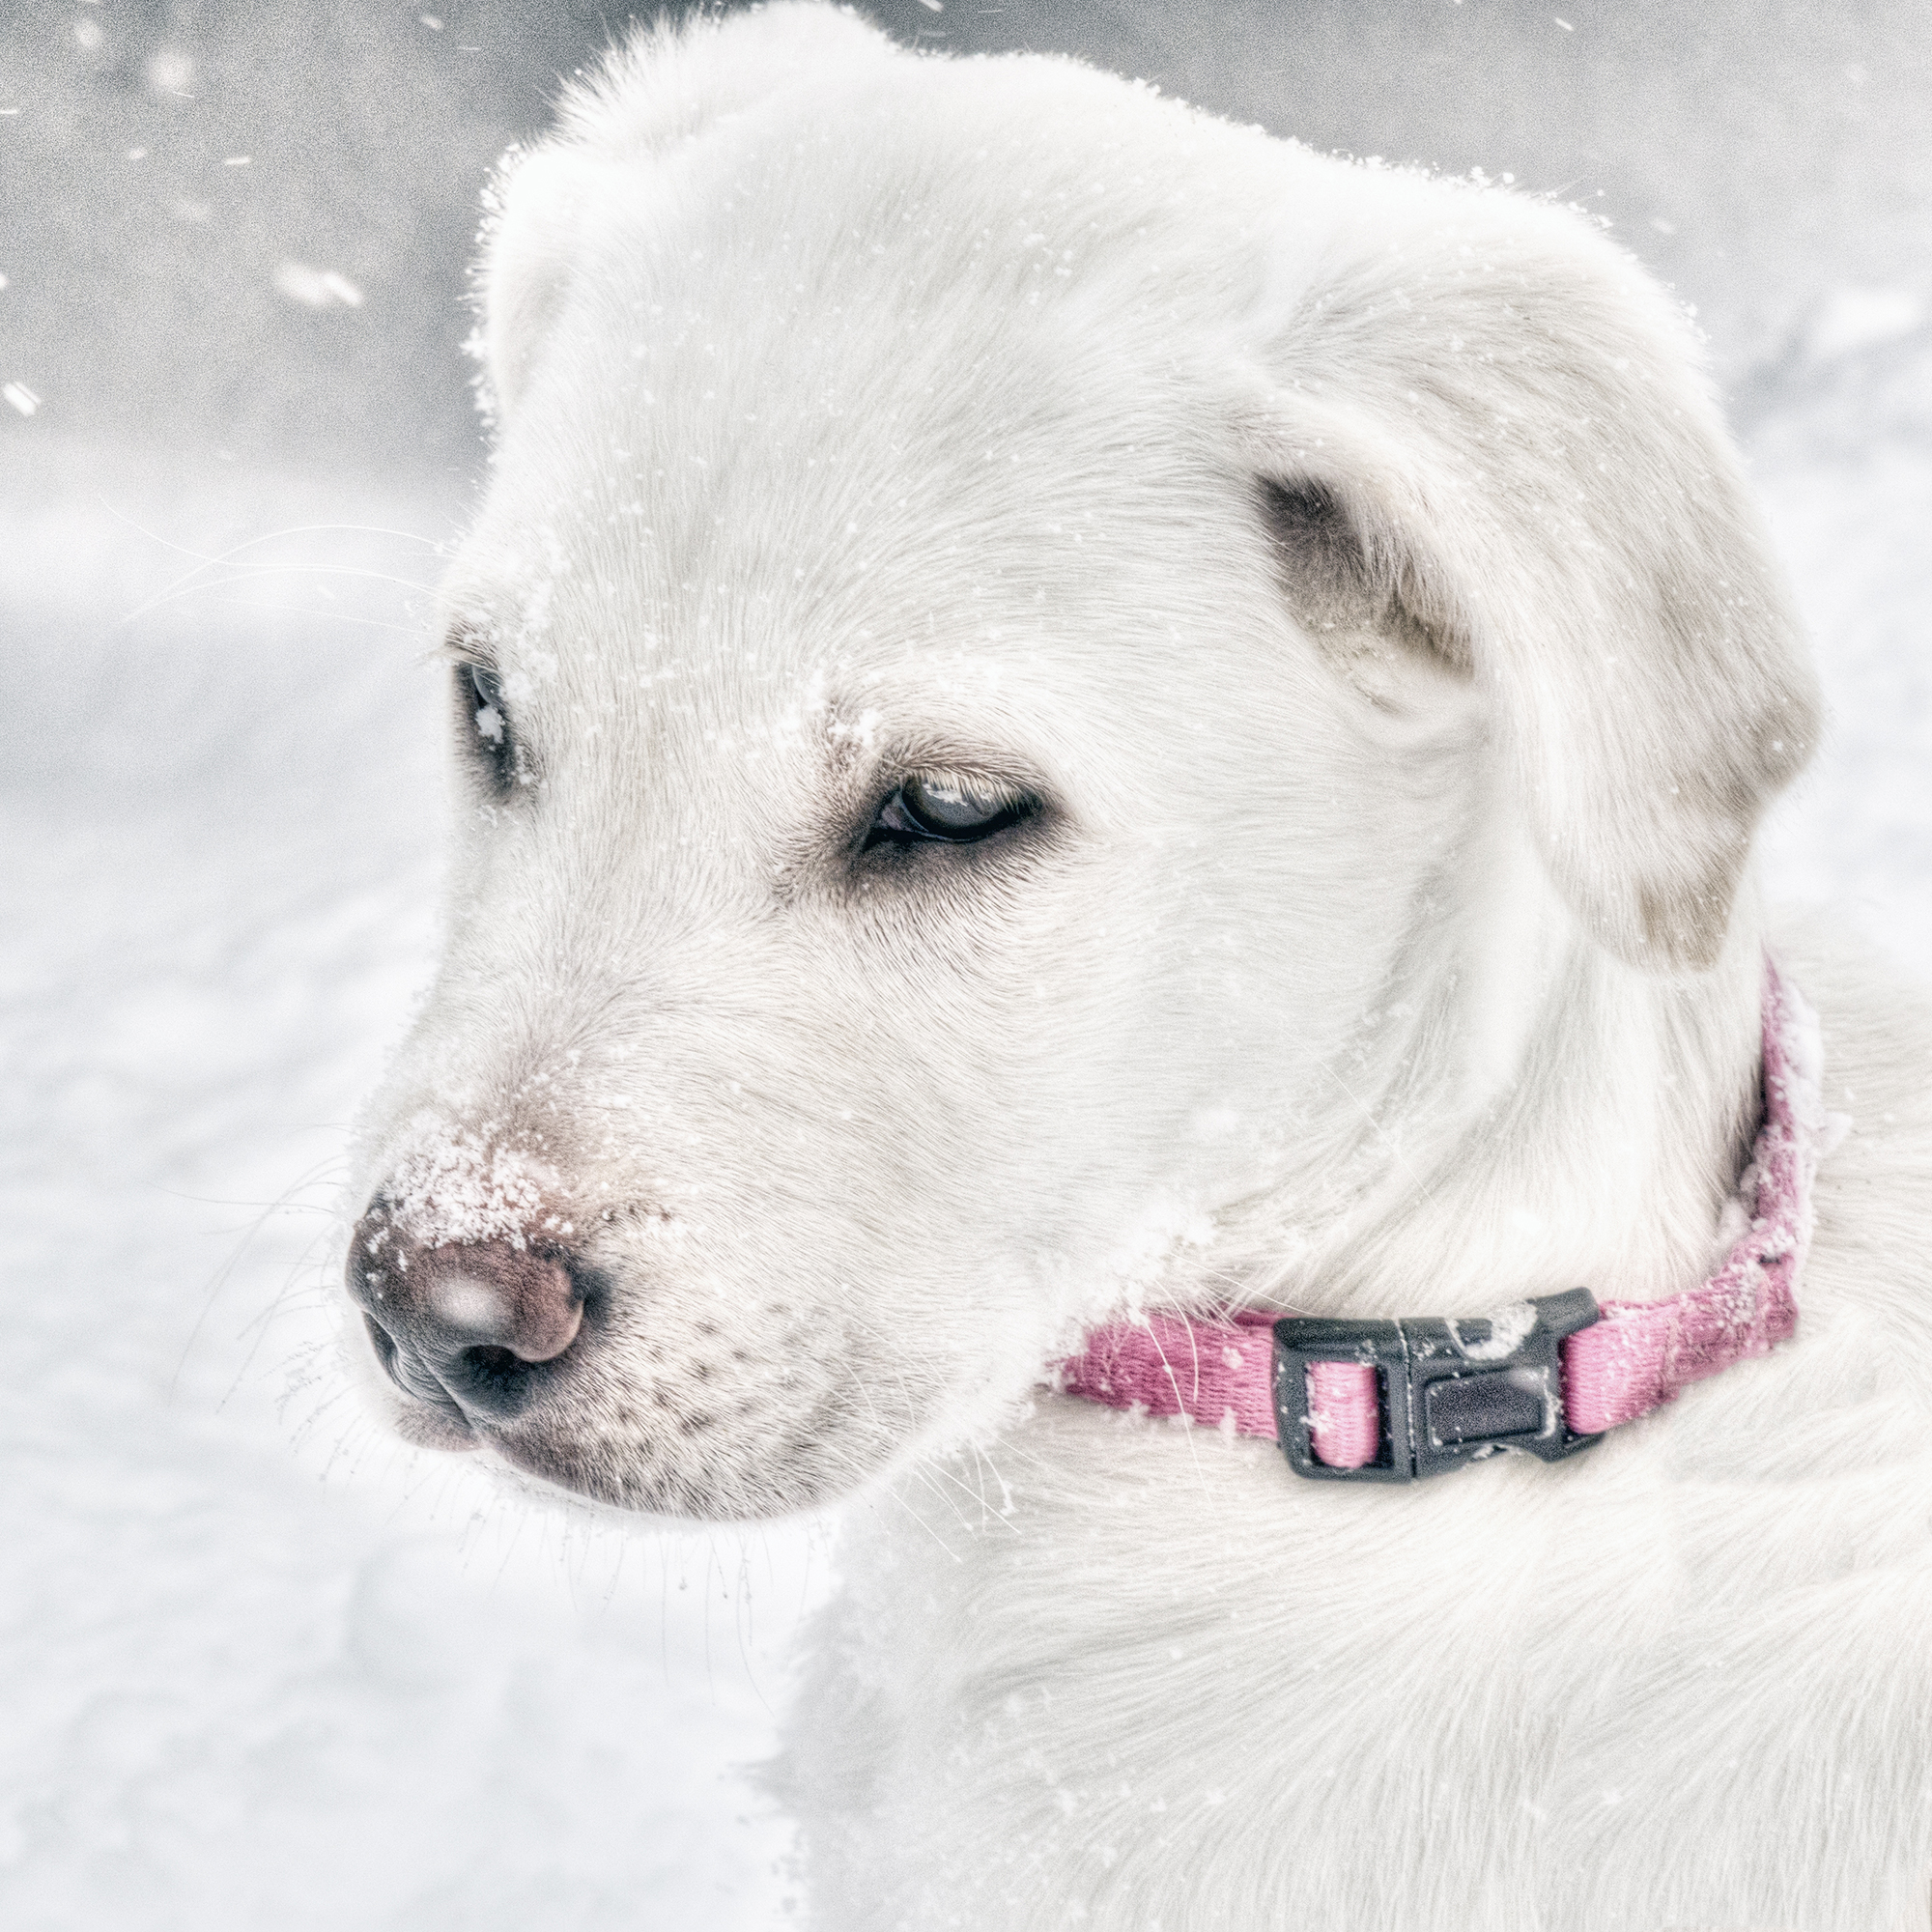
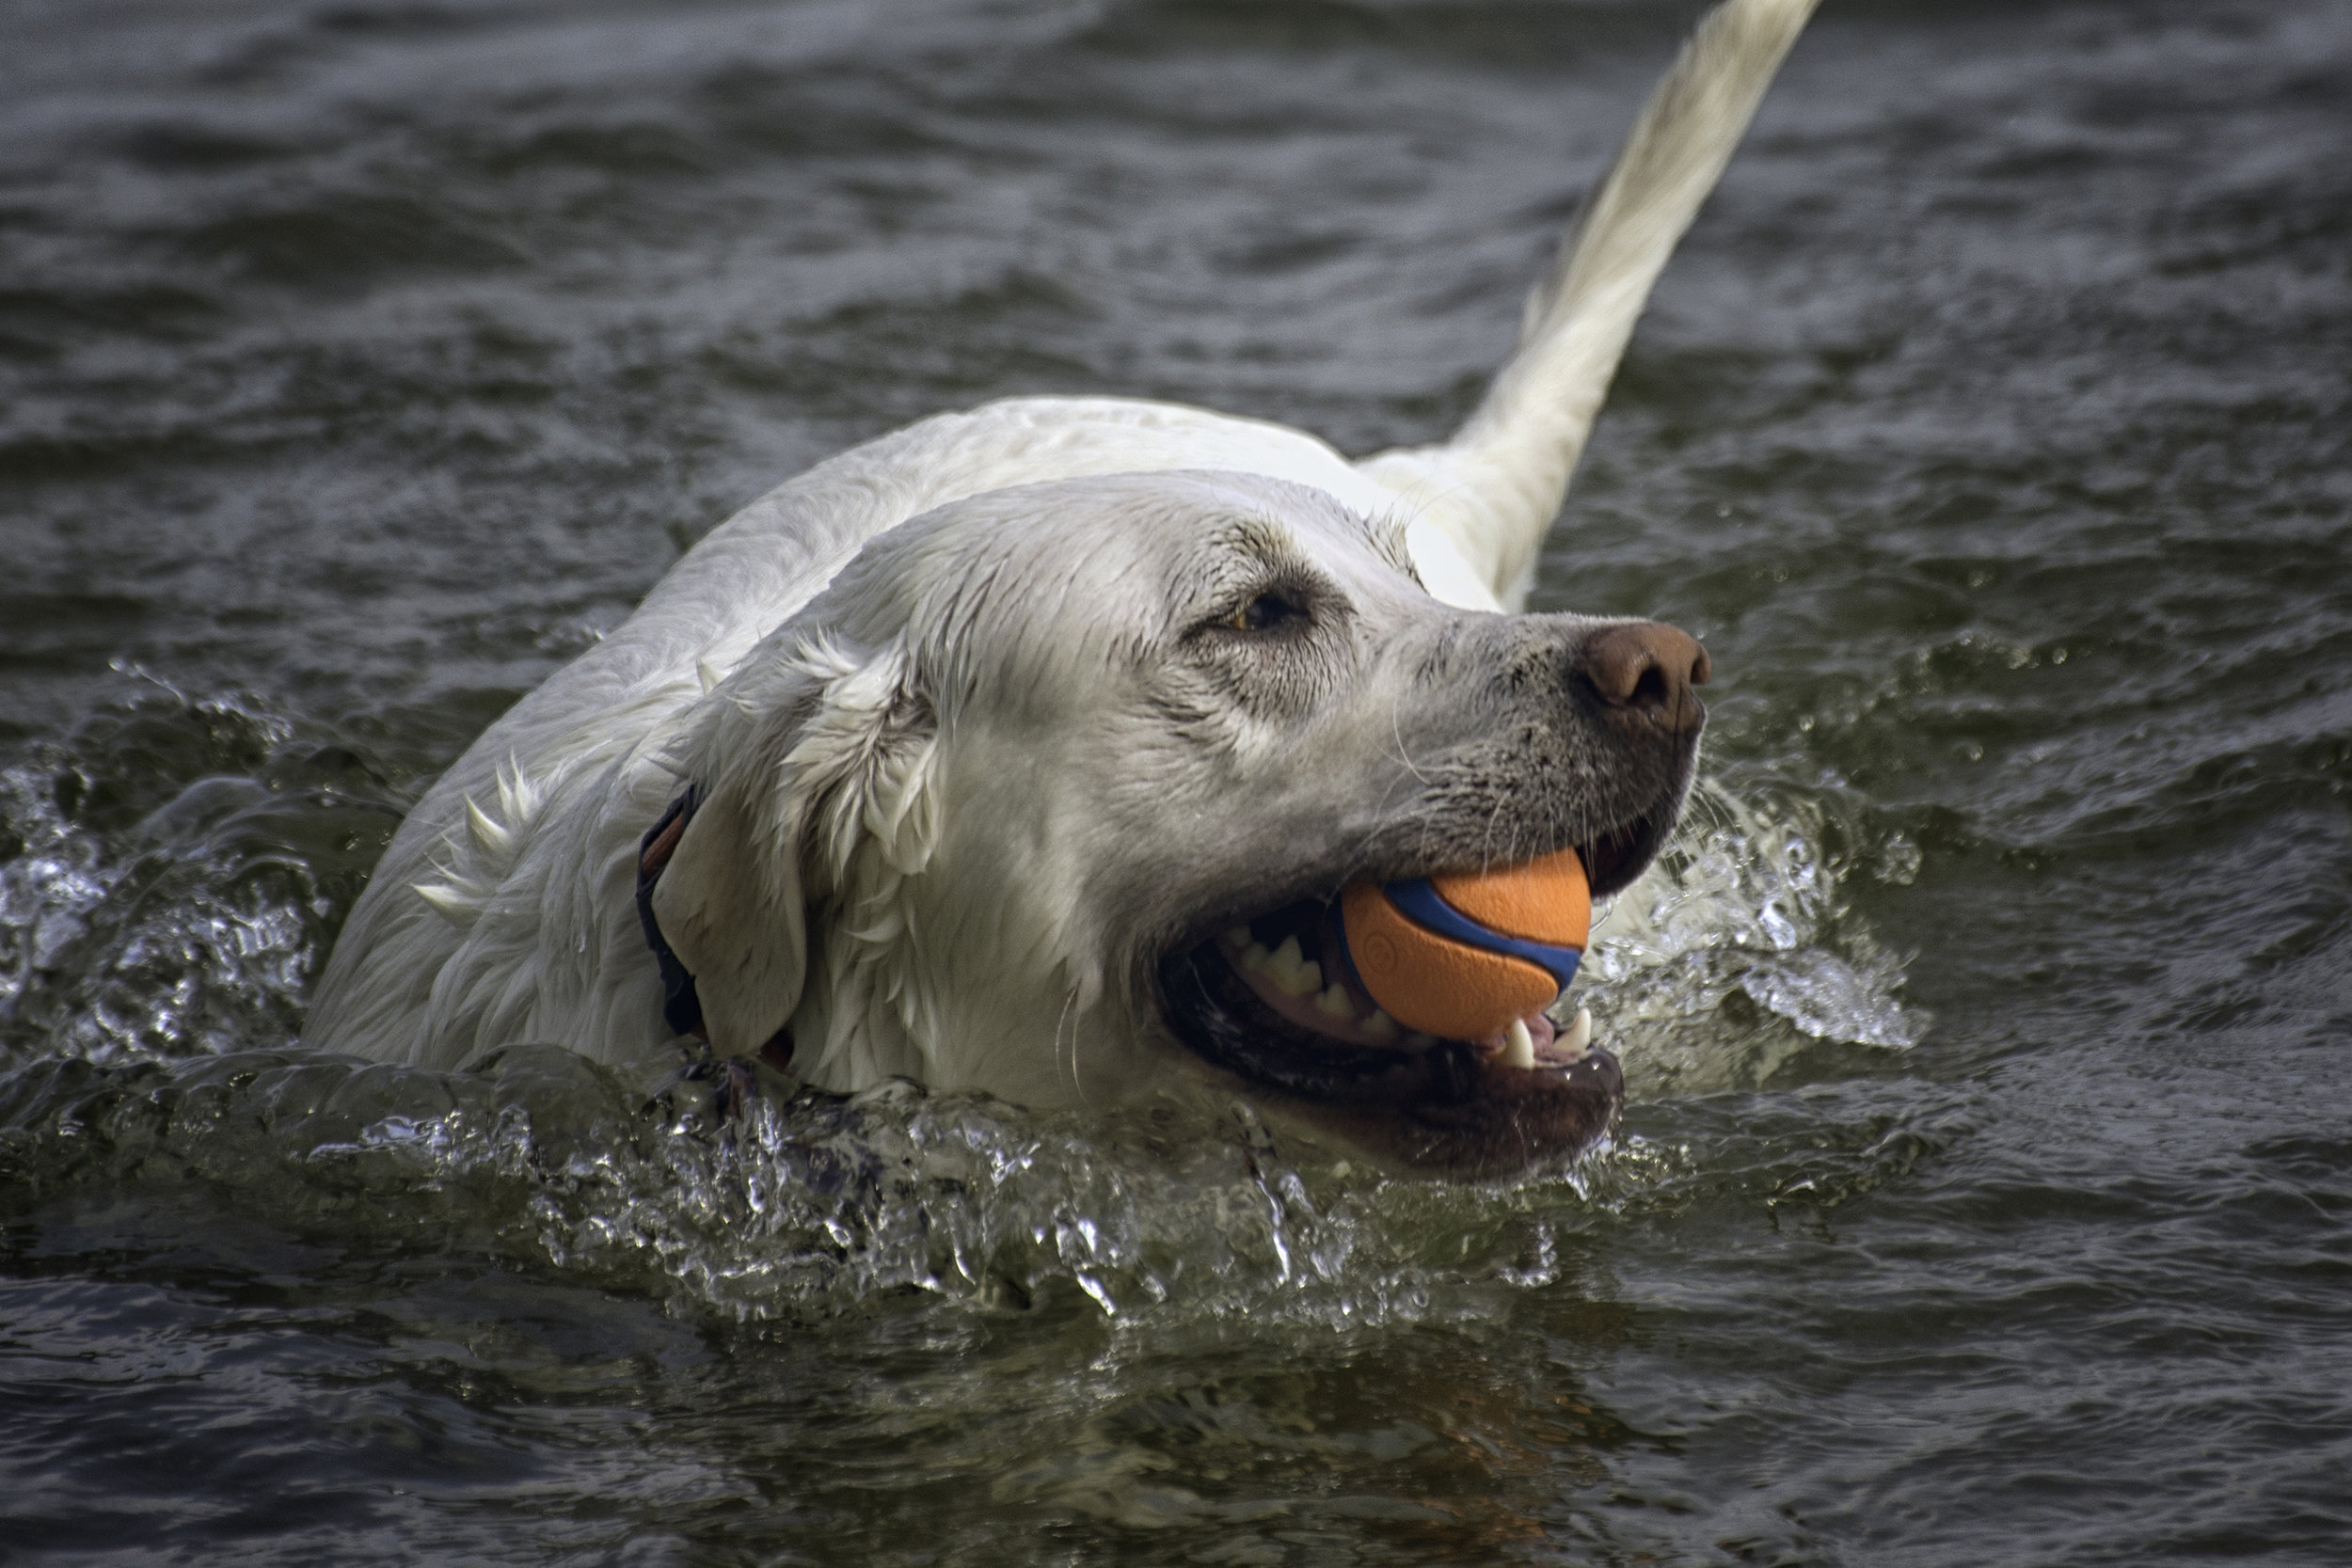
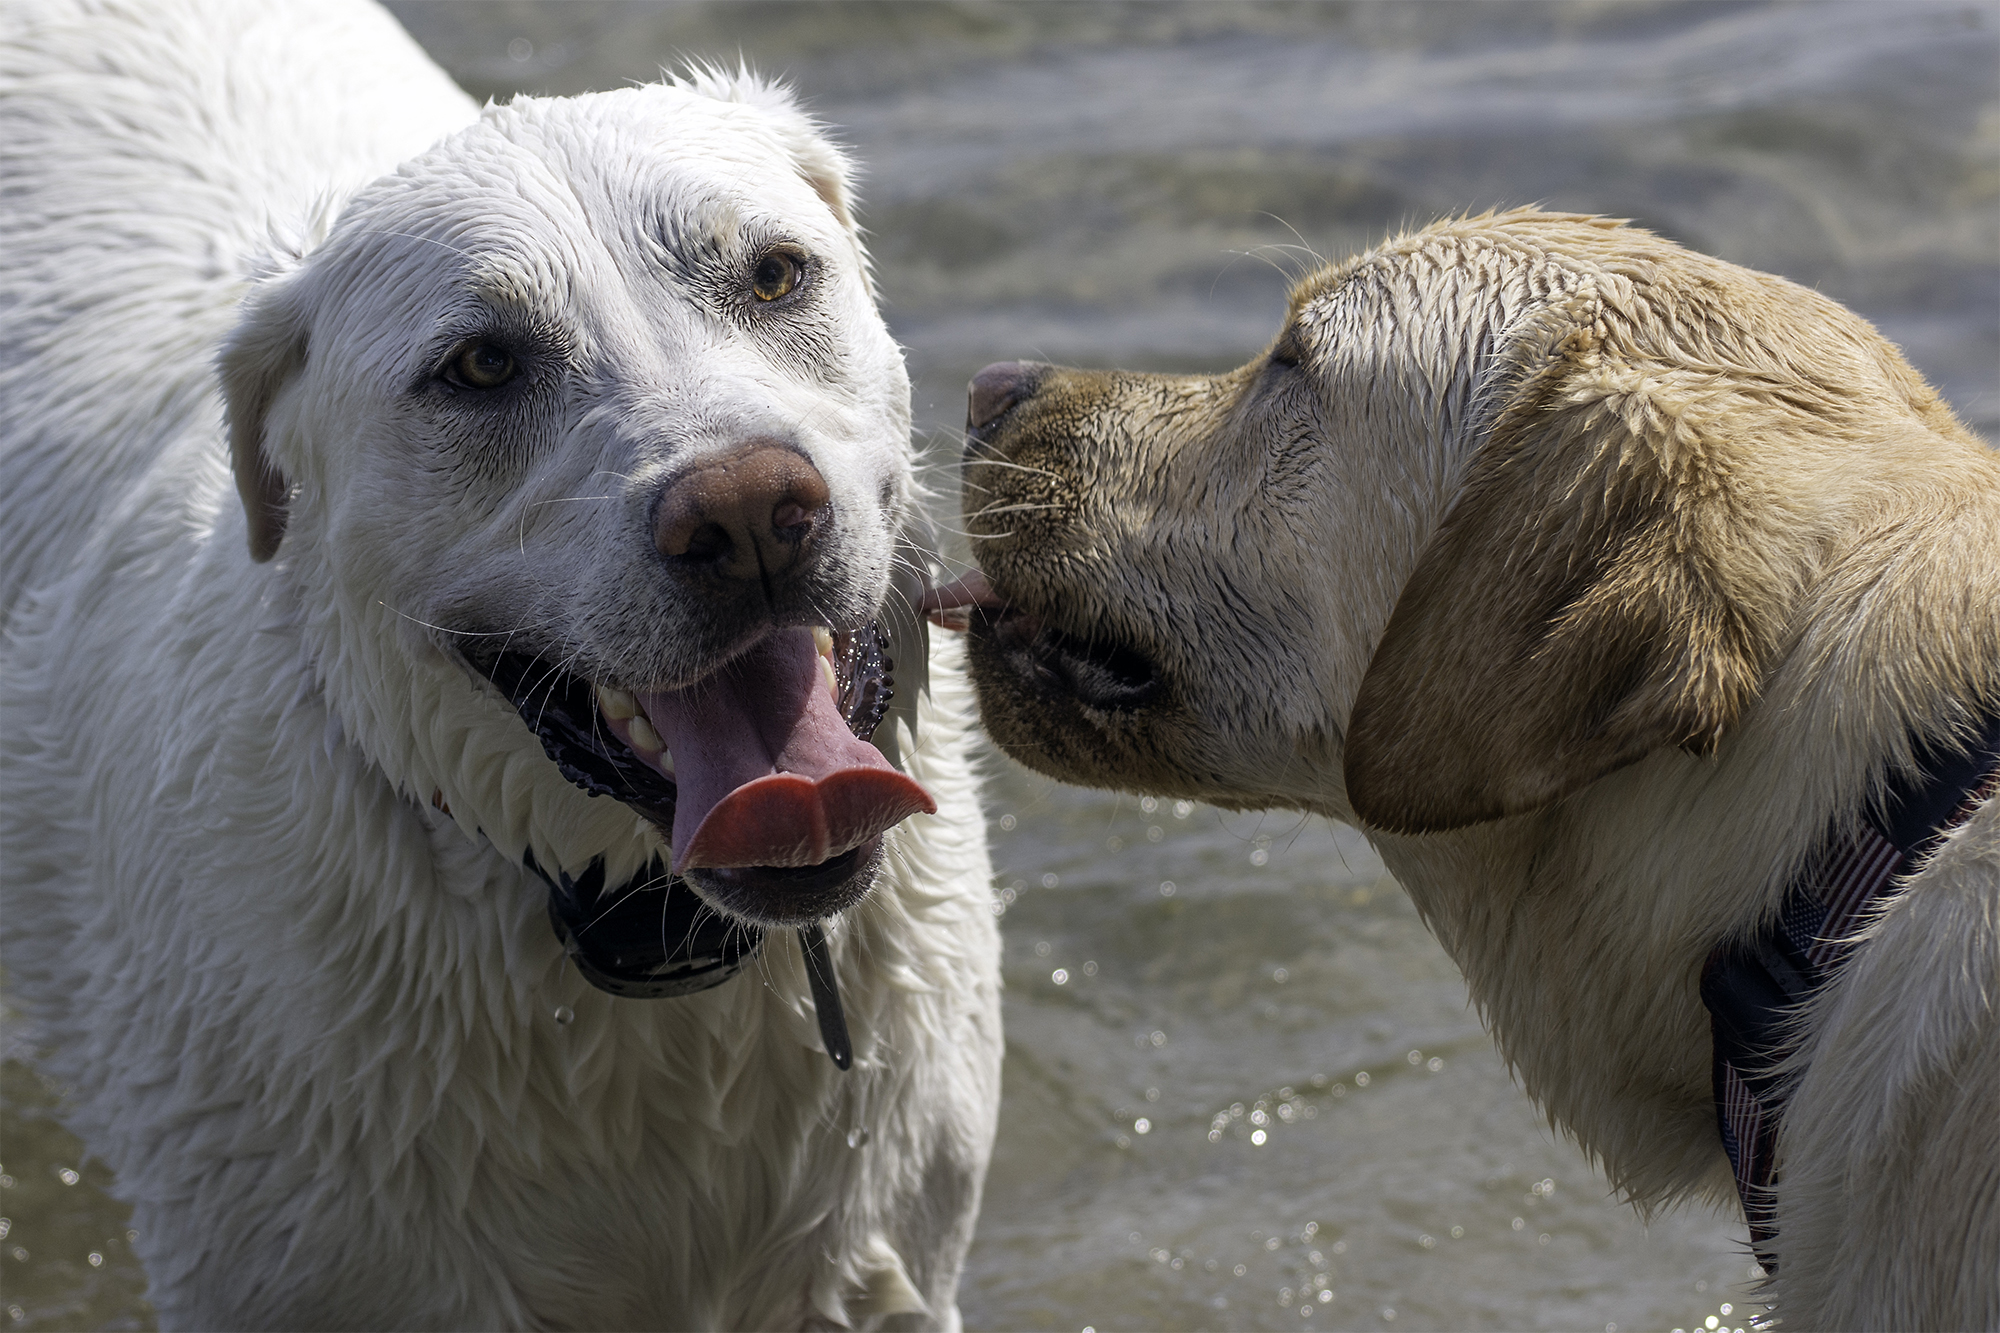
Pet photography is one of my favorite things to do, and  one of my  favorite models is my dog Marley!  Here are some thoughts on photographing your pet to make it fun and non-stressful for you both!

 First, a thought about the stress part.  If you are planning to do a "posed portrait session"  with your pup, or kitty, or goldfish ... forget about it!  Their attention is fleeting, movement quick, and more often than not, you just won't be able to keep up.    Instead, think about it as you entering their world as an observer;  snapping candids of them as you can.  Now you certainly can set up these situations  by making available their favorite toy, or engaging them in one of their favorite activities, but the idea is that you want to photograph a happy pet engaged in something they love. 

To take the best pictures,  you have to be ready and quick with your camera.  Anticipate your shots and fiddle with the settings ahead of time.   I almost always want a fast shutter speed to freeze the action and make it more likely that I will get a shapely focused shot.  Similarly, I am more likely to use a mid-range aperture like 5.6 to give me a moderate depth of field when the action starts.   And by all means,  have the autofocus on.

Pick a surrounding that has good lighting ... not harsh lighting ... good lighting;  I prefer to take pictures earlier or later in the day because then I can avoid light with harsh shadows.   It's also not a bad idea to use the auto-ISO feature on your camera at these times to increase the likelihood of an correct exposure.  You get the idea ... it's all about capturing the moment, not orchestrating it; so you have to make sure your setup maximizes your odds.   Second in importance to lighting, is the nature of the setting .  An uncluttered background is best,  so the attention is drawn to your subject.

My favorite shots are of pet expressions...  just like people.  Get down low to capture these shots and have a few things up your sleeve to get your puppy or kitty or whatever to look at you.  Perhaps a squeeze toy or a kazoo to make that unique sound that captures their attention for the moment .  I will often shoot in burst mode for the very reason that it ups my odds to get a terrific expression.

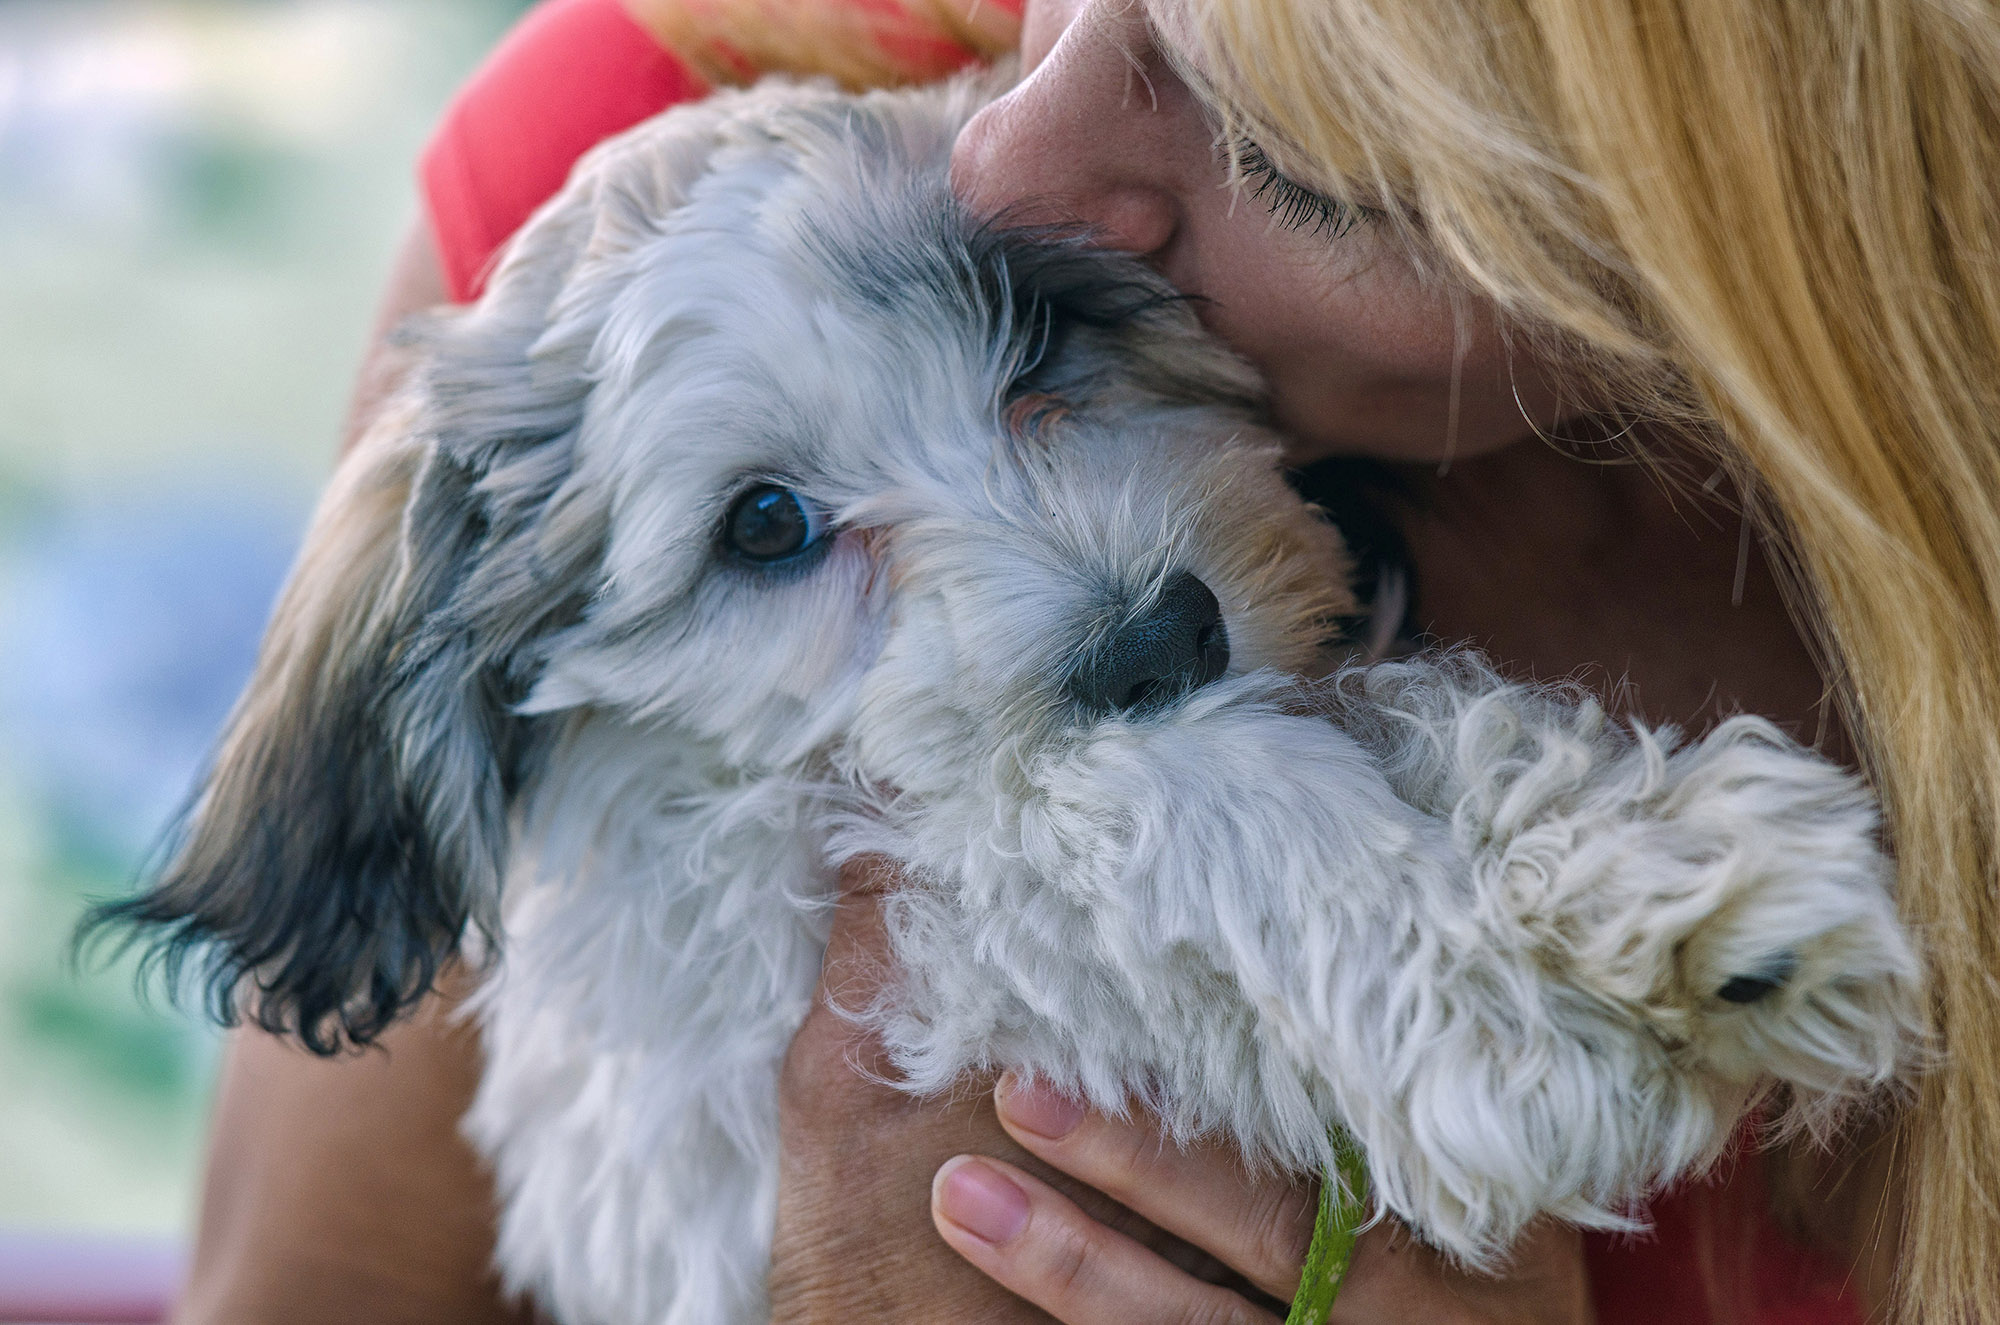
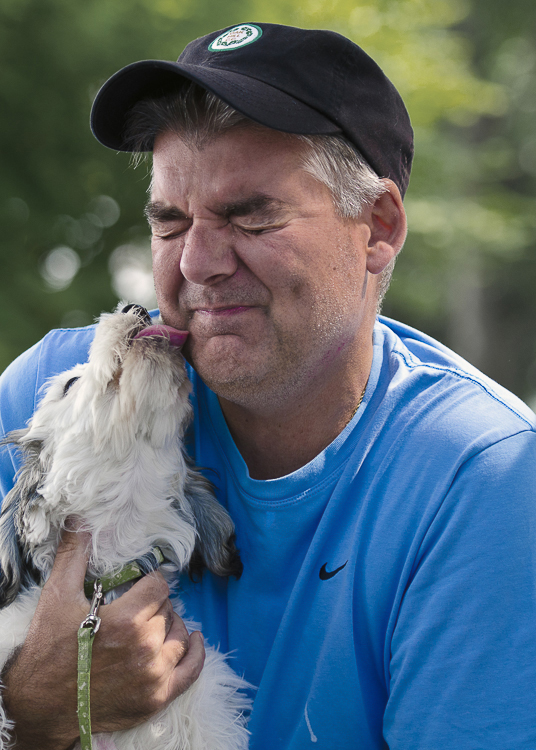
As a final thought, it's great to capture pets and people too,  although it can be even harder to get the animal's attention in these situations , but interactions between animal and human can be priceless.  When photographing a person with their pet, shoot with as large an aperture as possible to blur the background, and do your very best to fill the frame. 

T here is nothing like the innocence, play,  and love of a pet to make us feel warm and fuzzy  all over.  Go capture some!